Henry & Higby

home organization

Organizing Your Bathroom for Kids

OrganizationAnnie & MichelleComment

Families often come to us looking for help creating and/or updating their routines to make everyday tasks a little easier. And, most often, the bathroom is a large part of the struggle. Whether it’s trying to get your kids ready in the morning or trying to get them ready for bed, there is a lot to get done in one space. 

If the bathroom routine is a struggle for you, take some time now to get your bathroom more organized and streamline your routine with our tips below. Happy Organizing!

  • Clear out everything from your bathroom cabinets and start to categorize the items by usage – for instance, first aid supplies in one spot, medicines in another and outdoor items like sunscreen and bug spray in a third. Then, once the items are categorized find a container that fits in your space and can hold all of the items comfortably with a little room to grow.
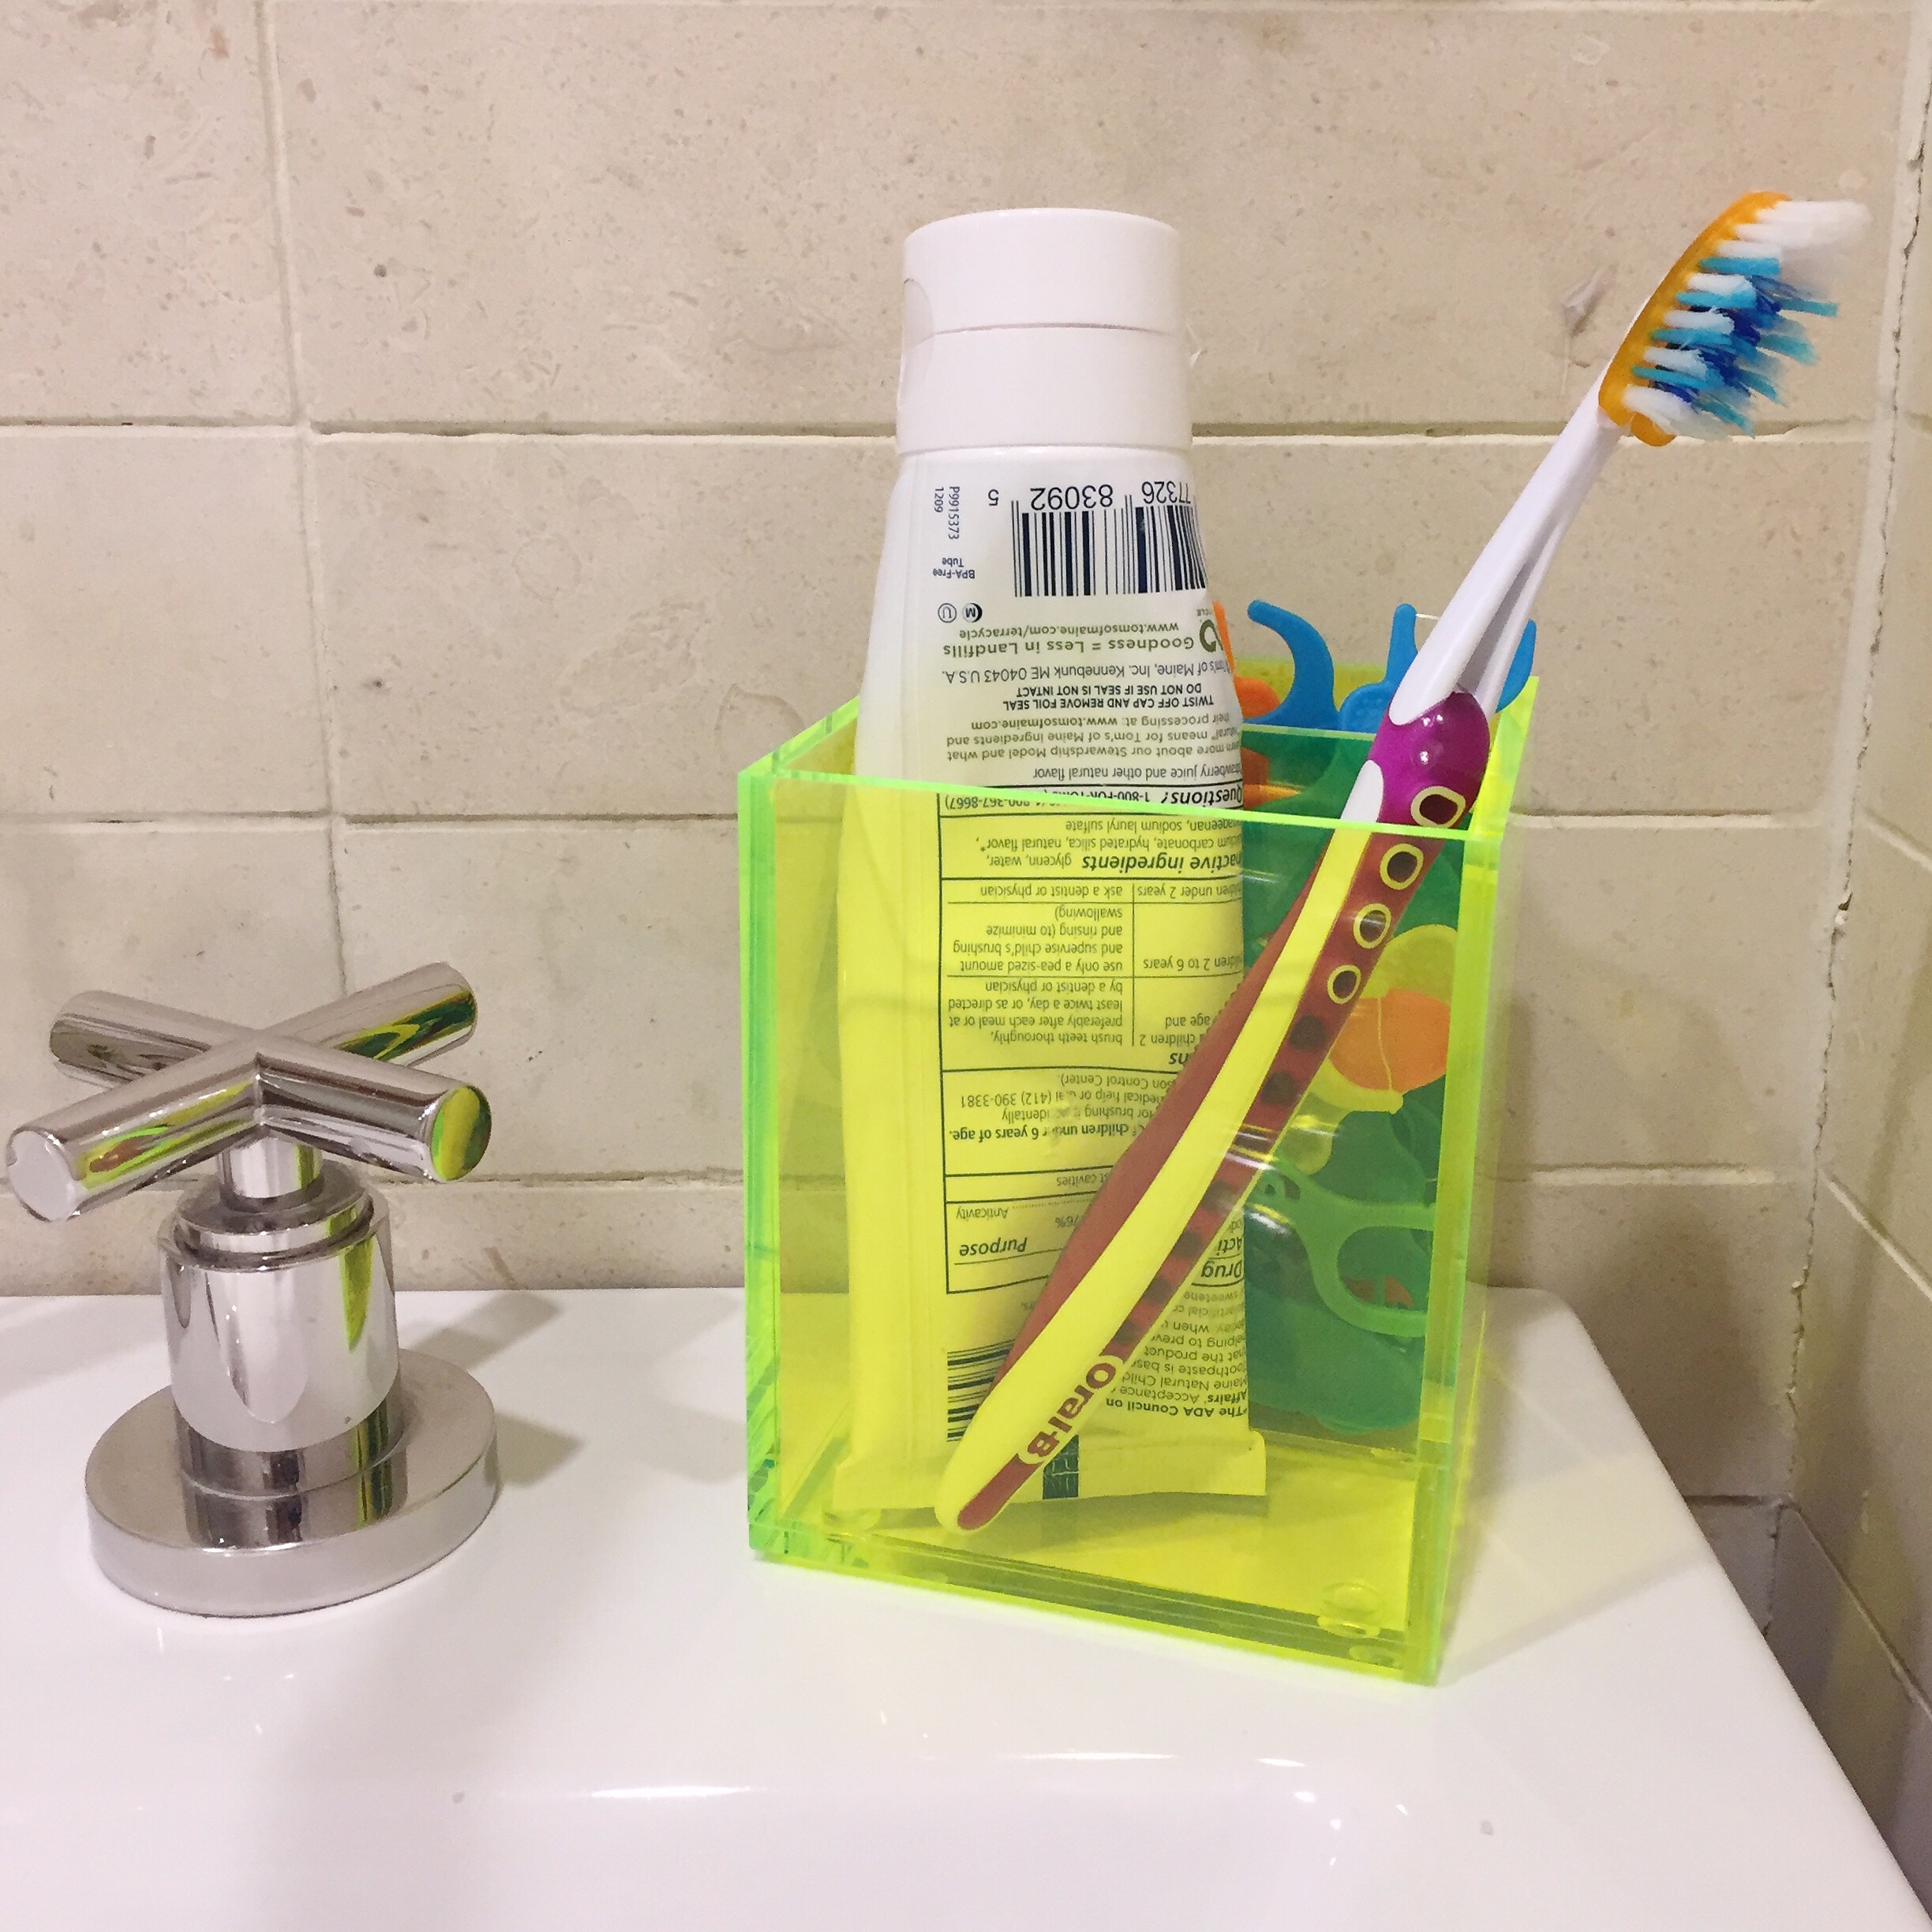
  • Create stations for each step of your regular routine to make getting through them For instance, store all of the items needed for brushing teeth, styling hair or even handling bumps and bruises.
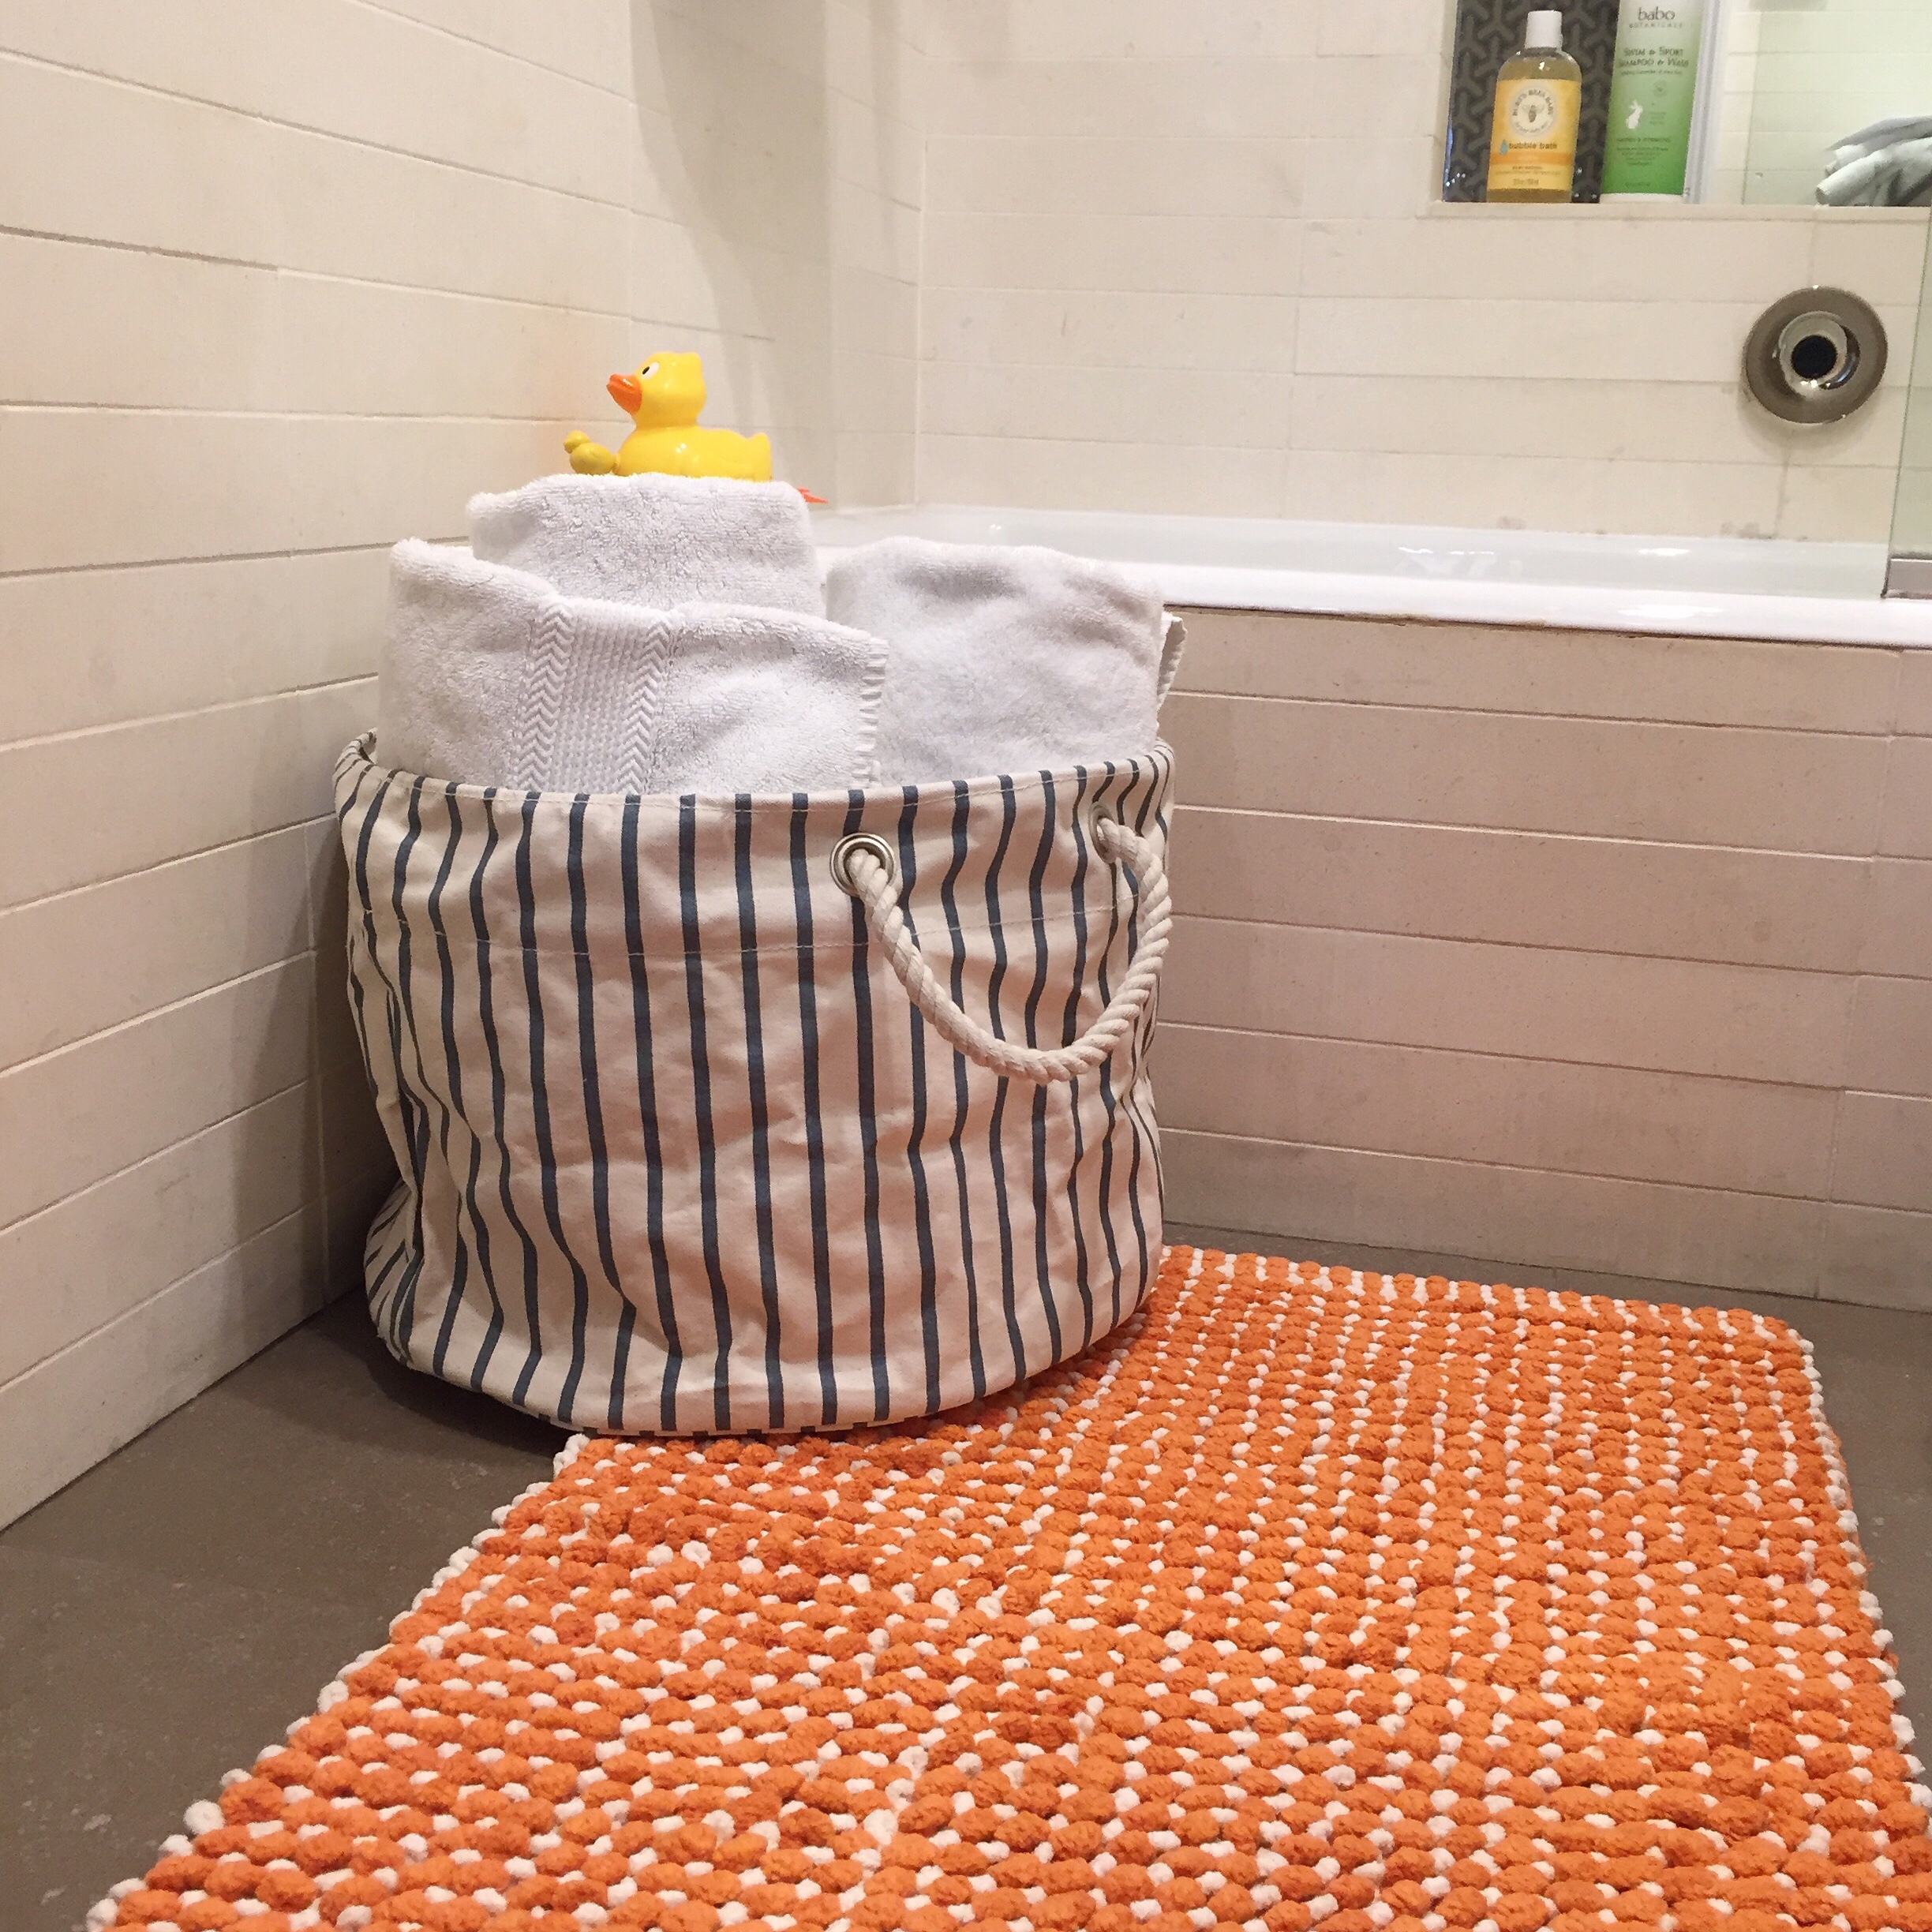
  • Brighten up the space and make the routine more cheerful by adding a pop of your child’s favorite color to the room. Here the little one loved orange so we added the rug.
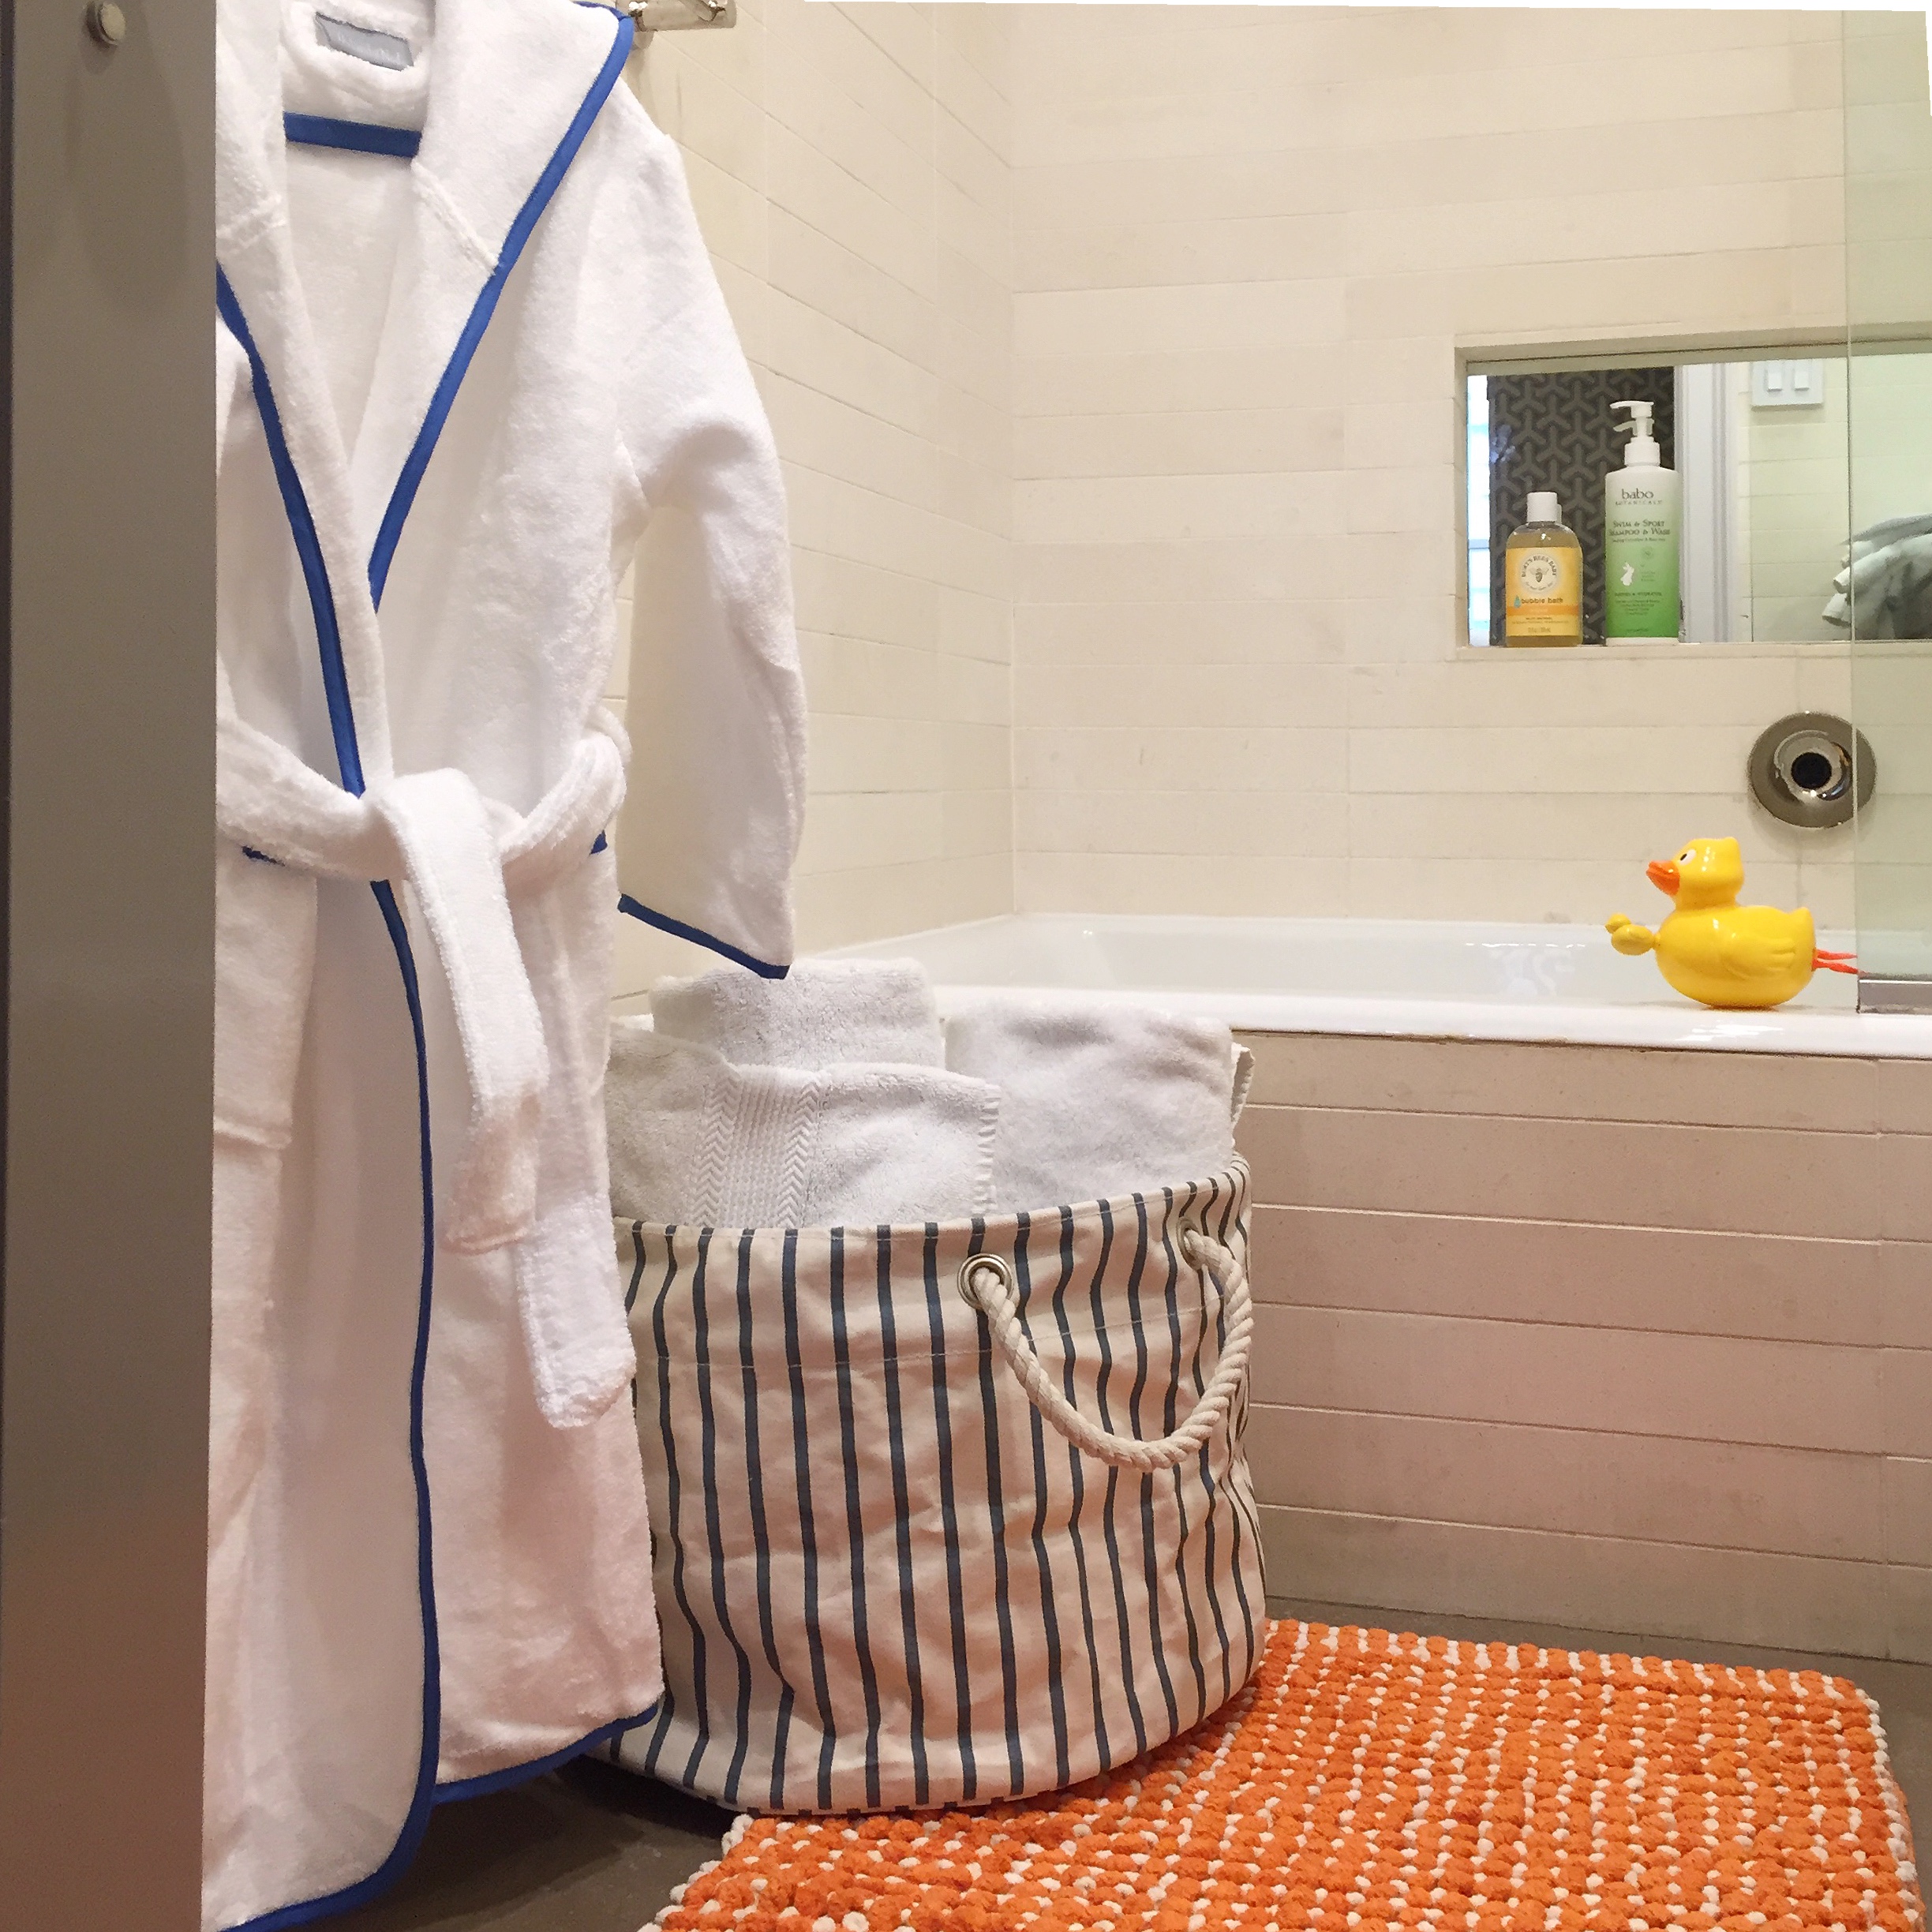
  • Make getting out of the bath more fun with a personalized bathrobe or towel to run around in after the deed is done. When you have a child who loves being in the water, we have found that having a few tricks up our sleeve to get them out is always helpful.
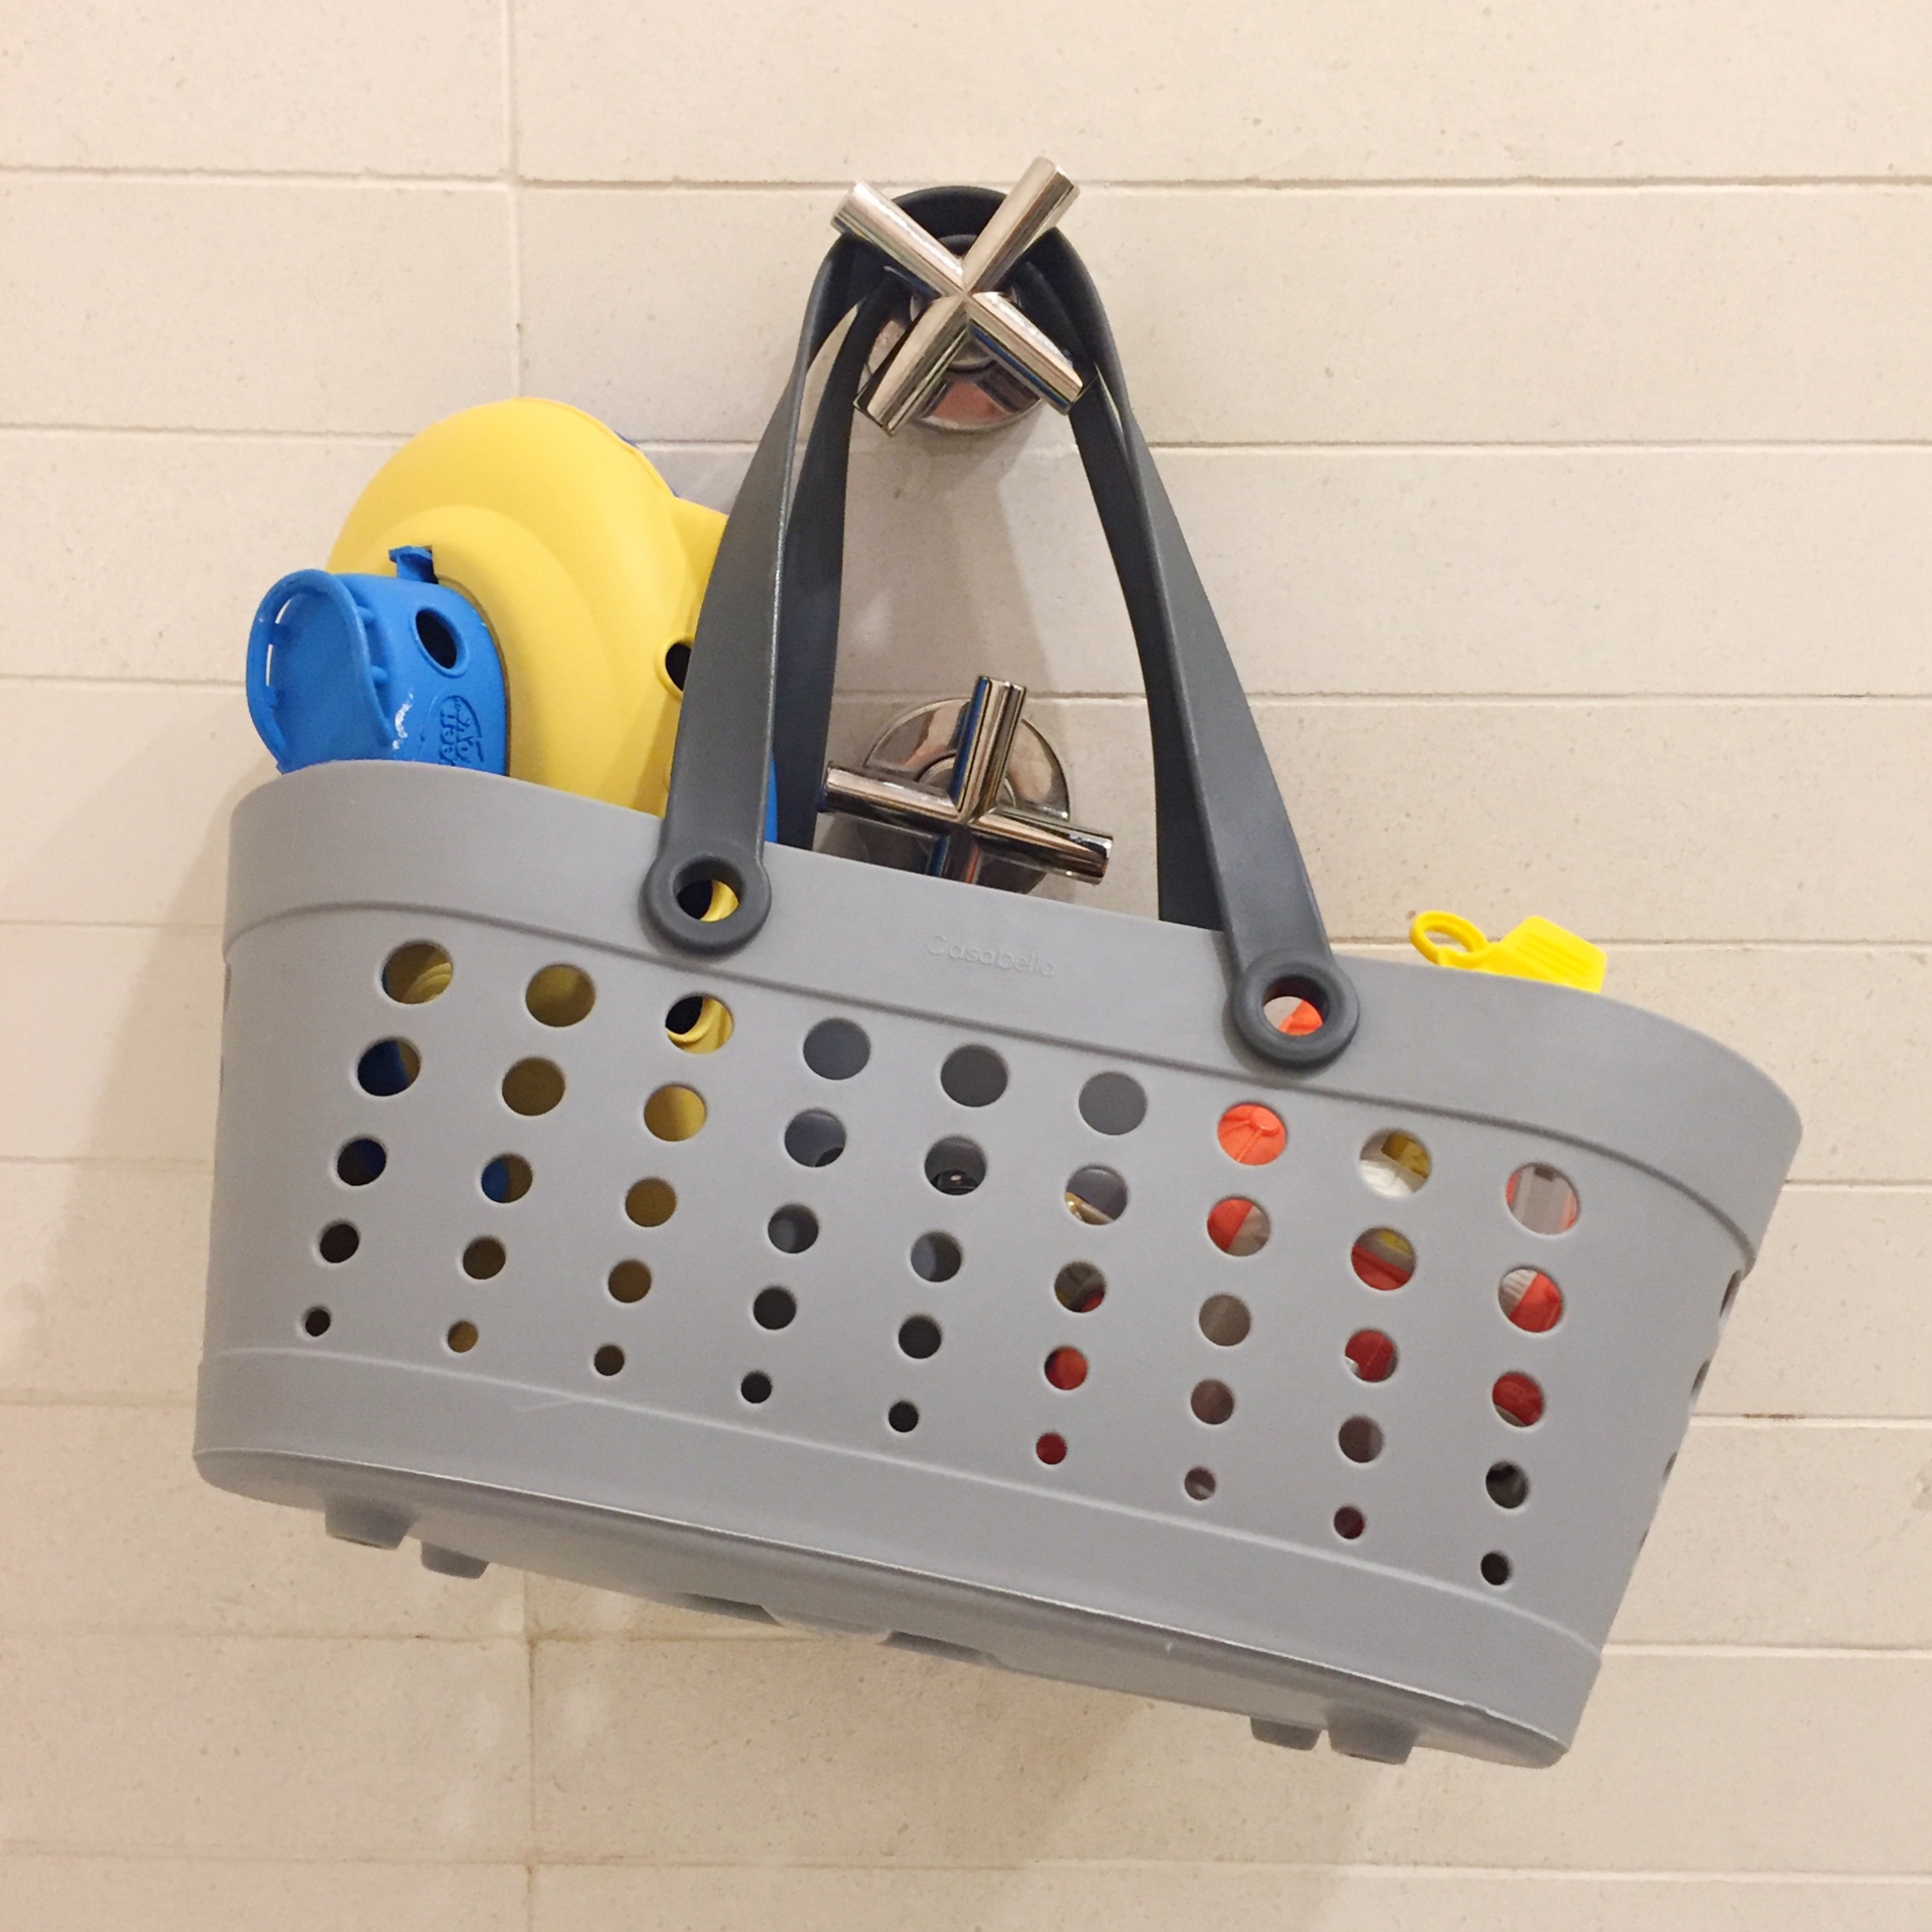
  • Simplify clean up by using a milk crate or other drainable container to keep the bath time toys tidy and dry. 

If you are looking for more ideas on how to organize your bathroom for kids, check out our blog post,  Ready, Set, Wash: Bathroom Organization Ideas, posted on the Crate and Kids blog

Setting up a Desk for Your Kid

Organization, Space DesignAnnie & MichelleComment
 
ACS_0005.JPG
 

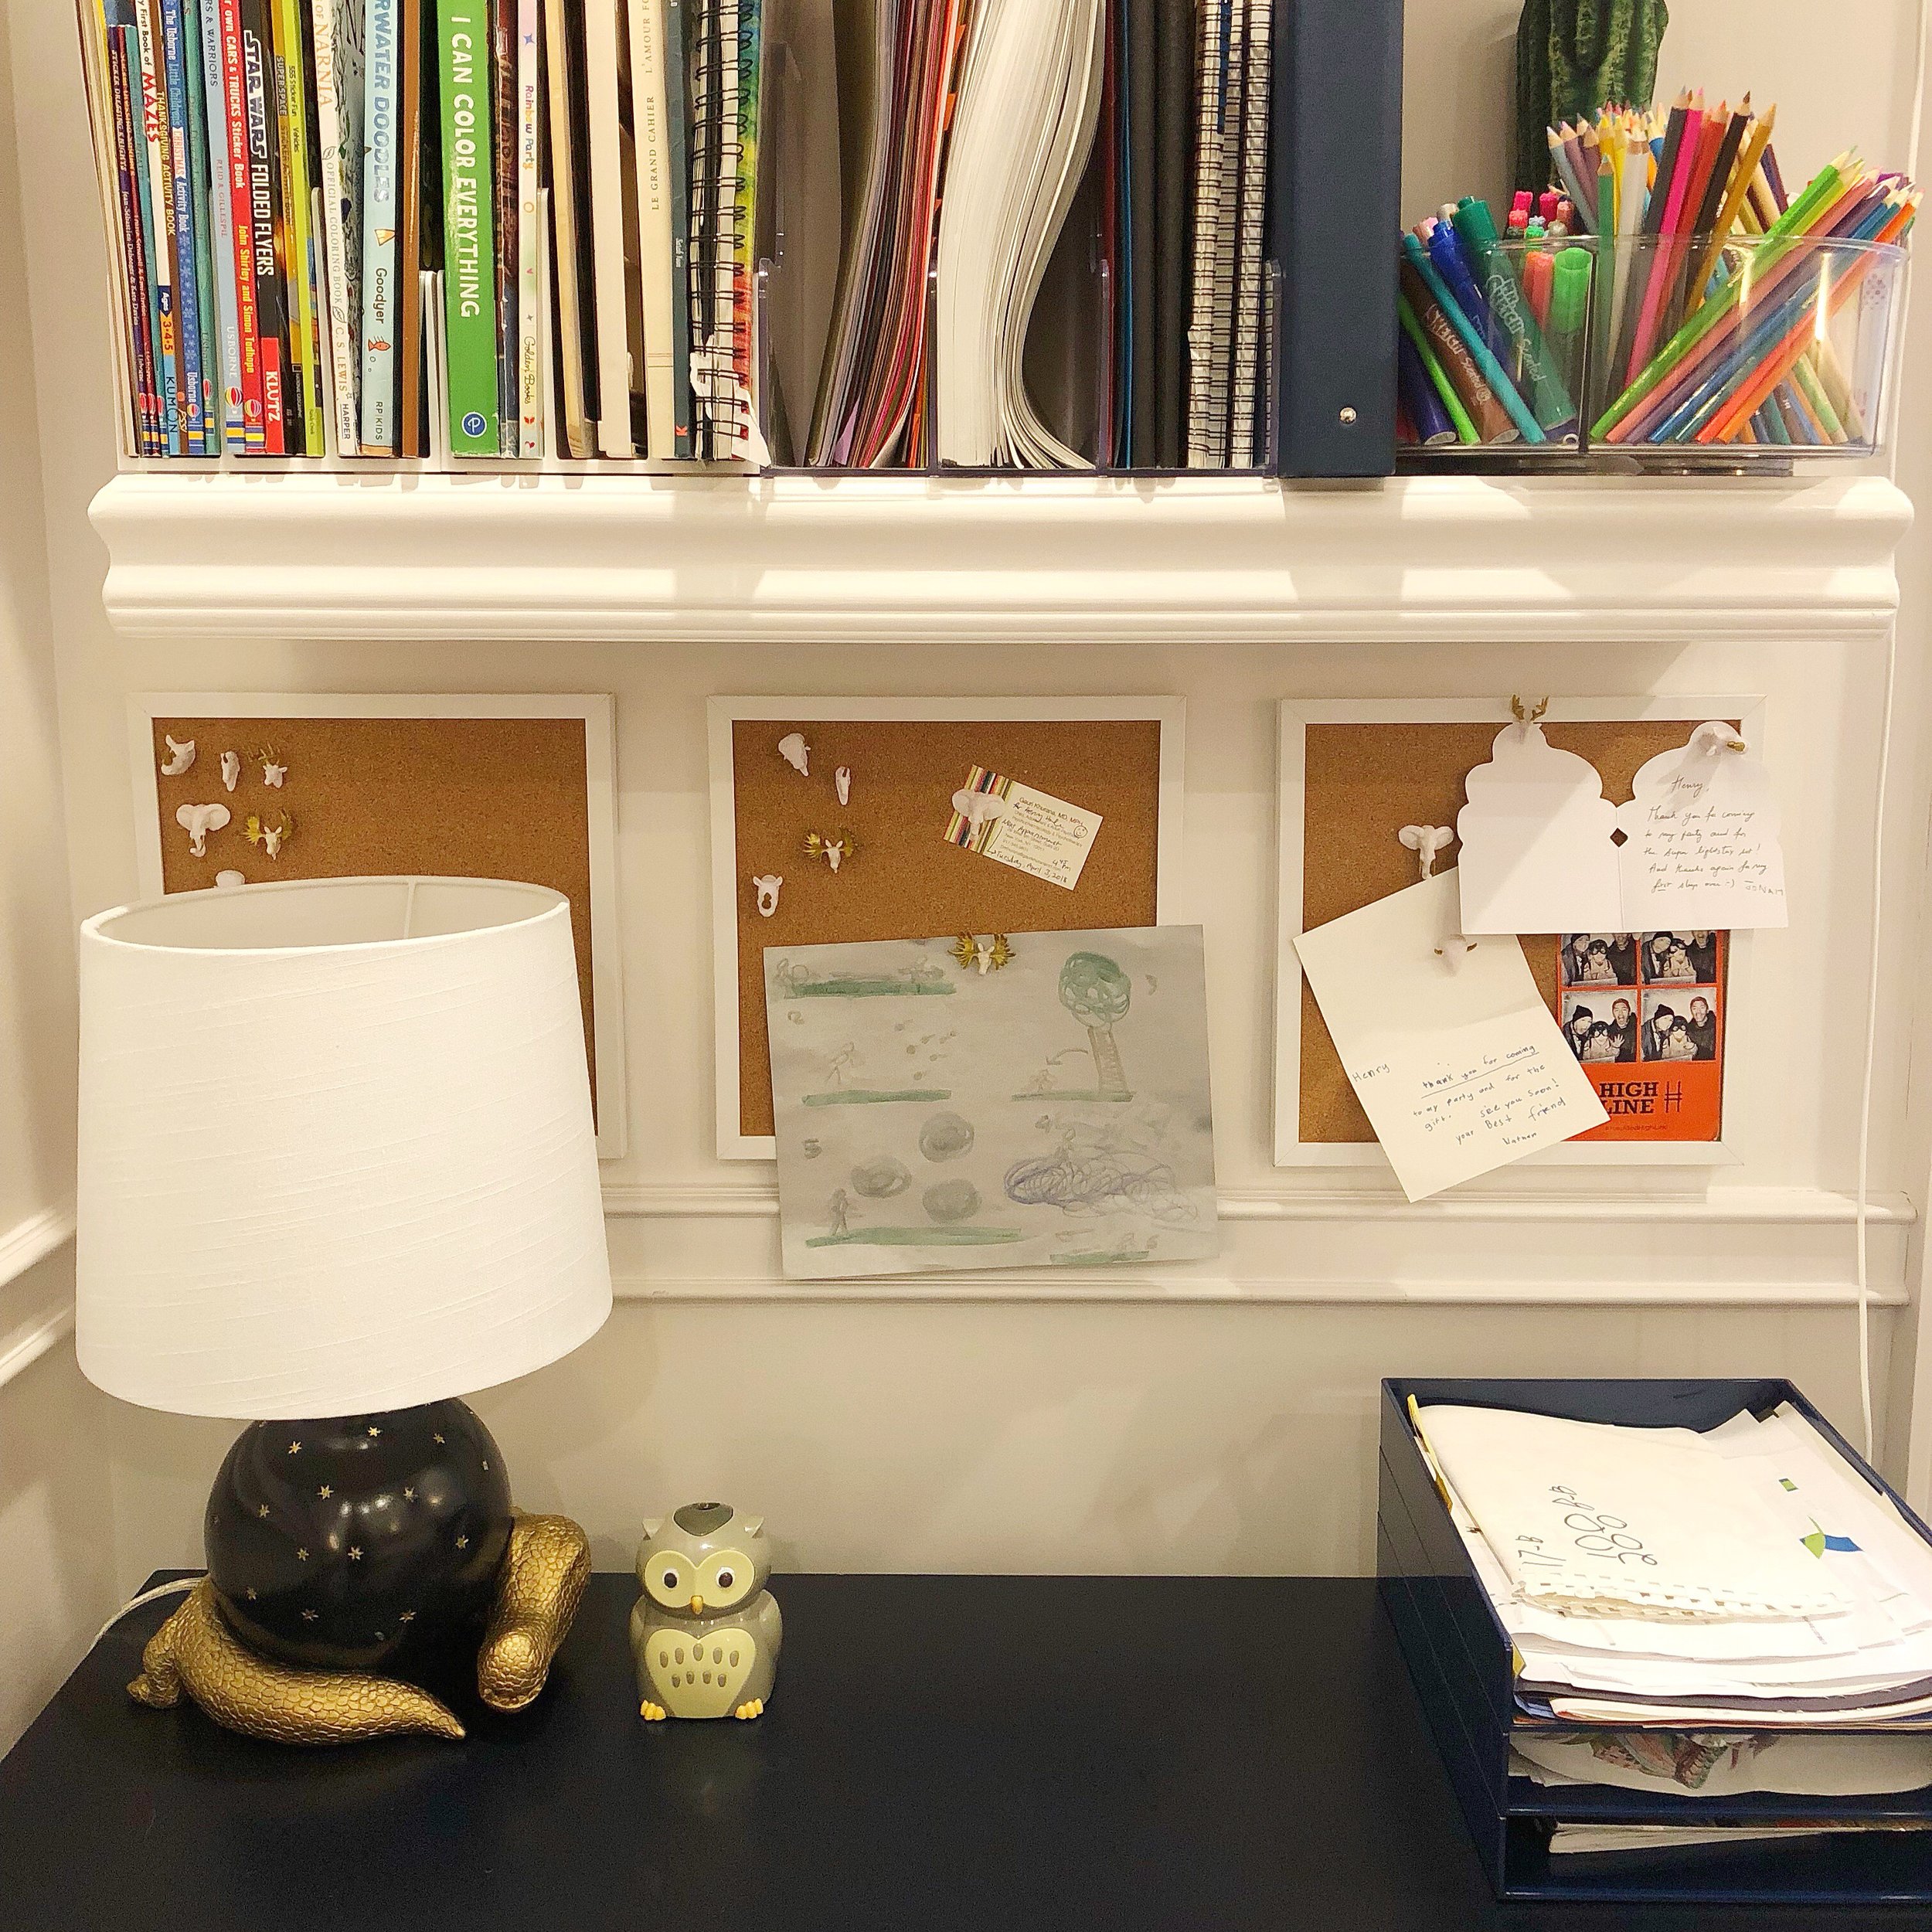
We recently had a client ask us to help set up a desk for her 7-year old son. He wanted a spot of his own to sit and work on his projects and we were more than excited to help out.

We found a desk that fit with the aesthetic of the room from Land of Nod and then started the process of organizing the space. In this case, since our client's son doesn’t have a lot of homework yet, we hung up some cork boards behind the desk to display his art, reminders and memorabilia and we put his craft supplies within easy reach. A divided Lazy Susan creates an instant art supply bin than is portable and simple for small hands to carry and use. We also added simple stackable paper trays on top of the desk which create a drop zone for loose sheets and art projects.

 
ACS_0004.JPG
 

Then, we put small trays inside the desk drawers to keep items such as pencils, tape, scissors and small notebooks neat and tidy. Our trick for helping kids remember where things should be placed is to add clear labels inside each of the bins and then they can easily retrieve them again before their next project. 

ACS_0003.JPG

If you are looking for more ideas on how to set up a homework station/desk for your family, check out our post on the topic - How To Create The Ultimate Homework Station - from last fall that posted on What Moms Love.

When to Toss Make-up

OrganizationAnnie & MichelleComment
 
Henry & Higby Makeup Storage.JPG
 

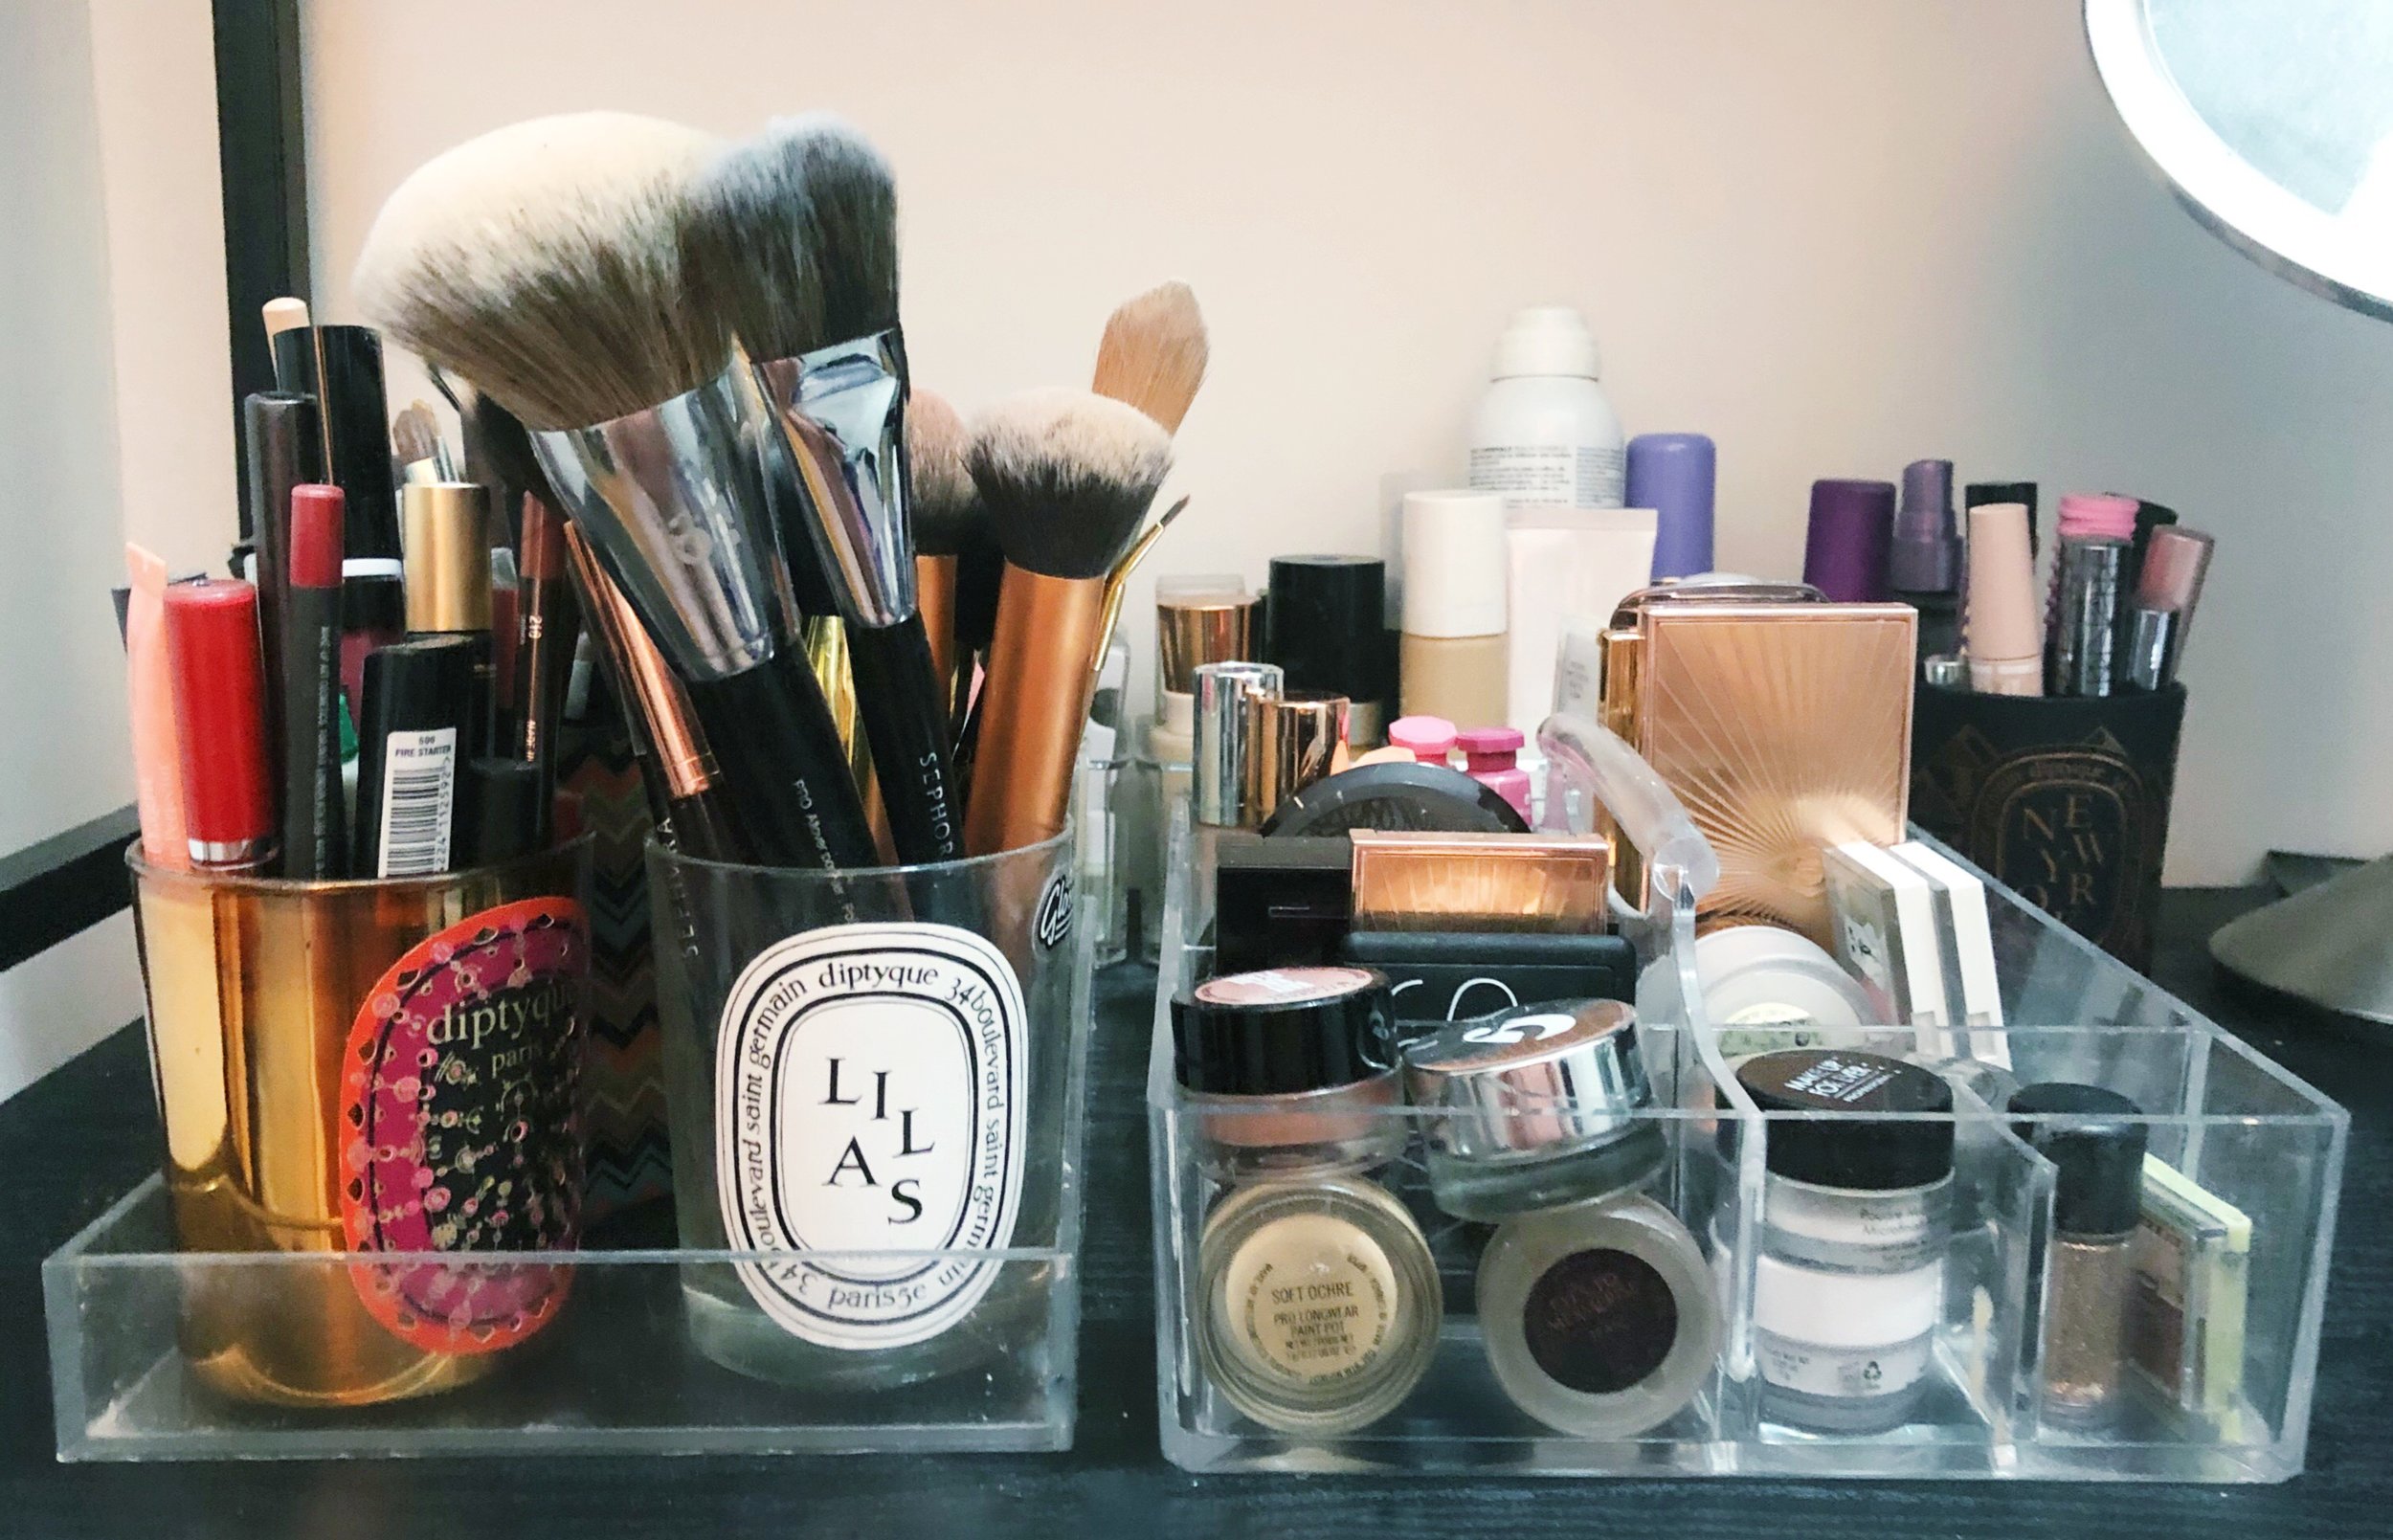
We love helping our clients organize their bathrooms and throughout that process we often get asked questions about the shelf life of make-up and other toiletries. 

We did some research to brush up on our knowledge so that we can answer with confidence. However, if you are in doubt, it is probably best to throw it out, says the girl who still has make-up from (ahem!) college…but no worries, it was tossed shortly after we wrote this post. 

Before we dive into the specifics, we have one quick storage tip to share -- to make your make-up and toiletries last even longer; don’t store your makeup in the bathroom where humidity can make it spoil faster.

Happy Organizing!

When to Toss...Make-up

Mascara: 3 Months

The consistent response no matter where you look is to toss mascara after three months or once a quarter. 

Eyeshadow, Cream: 3 - 18 Months

It has hard to find consistent information on when to toss cream eyeshadows. The results of our research ran the gamut from 3 months to 18 months, which is quite a spread. Given this inconsistency and the fact that they tend to grow bacteria more quickly than powder, it is best to pay extra attention to them. Regardless of whether you apply them with your finger or a brush, you need to make sure that your application method is clean. If you notice any product build up, a bit of rubbing alcohol can help refresh the surface of your product.

Eyeliner, Liquid: 3 Months

Similar to mascara, liquid eyeliner should be thrown out about every three months because bacteria tends to flourish in the tubes. This is in large part due to the fact that every time you dip the wand, you are transferring an rapping bacteria. 

Foundation and Concealer, Liquid: 6-12 Months

Liquid foundations have water in them, which means that they can harbor bacteria once they are opened. Look for products with a pump or squeeze tube, but if you find yourself with an open container, on’t dip your fingers directly into the container, use clean brushes or sponges and avoid double dipping, as that can increase the changes of it being contaminated. 

Concealer, Powder and Stick: 1-2 Years

As with other powder based products, a powder concealer can last up to two years especially if you are applying it with a regularly washed makeup brush and/or sponge. 

Blush or Bronzer, Cream: 1 Year

To prolong the life of your blush, clean your brush regularly and store it in a dark, dry place. 

Lipstick, 1-2 Years (or longer)

There is a bit of conflicting information here about how long lipsticks last with the range being from 6 months to 5 years but most sources put it around 1-2 years. However, regardless of how long you have had it or what product you are talking about, keep an eye out for changes in color, consistency and scent which could be indicators that it is time to toss it. 

Lip Gloss: 6 months to 1 Year

We found a lot of conflicting information on he shelf life of a lip gloss, so it is probably best to just keep an eye on it for any changes in color, consistency or scent regardless of when you started using it. 

When to Toss...Powders

Eyeshadow, Powder: 2 Years

Foundation, Powder: 2 Years

Blush or Bronzer, Powder: 2 Years

Powder-based products should be safe for up to two years, larg in part because they don’t contain water. However, since eyeshadows come in contact with your eye, make sure that your brushes are clean, especially if you are using the product on a daily basis. And, keep an eye out for funny smells or turned colors but otherwise they are good to go for quite a while.

When to Toss...Pencils

Eyeliner, Pencil: 2 Years

Lipliner, Pencil: 2 Years (or longer) 

Pencils can last up to two years (or even longer in some cases) because the surface is refreshed every time it is sharpened. However, if you want to be certain that is it okay to use for years to come, make sure that you also sanitize your sharpener with rubbing alcohol or another appropriate cleaning agent in between uses. 

Still wondering about a specific product? Flip your product over and look for a symbol that looks like a jar with a lid, the number inside that symbol represents the number of months the product is safe to use after opening!


If you are looking for advice on how to organize your bathroom, please check out our post here

Our Favorite Organizing Products for Small Space Living (Part 2)

Organization, Space DesignAnnie & MichelleComment

We love the challenge of organizing whether in big or small spaces. There is nothing more satisfying that coming up with a solution that works for the space and the client and makes their life better.  But the unsung hero of any job are the products that make it all possible so without further ado, here are a few of our recent favorites. Read on and happy organizing!


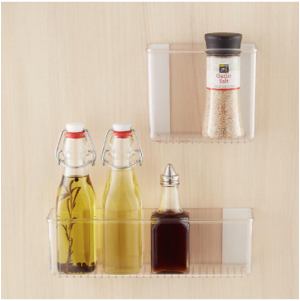
StickOnPods

These self-adhesive pods are great for making the most of small cabinets without a lot of shelf space. 

Huggable Hangers

Slim line huggable hangers make a big difference when you are trying to fit more clothing into a smaller closet. And, if you do make the switch, you get the added benefit of having your closet look more organized since your eye isn't distracted by different types of hangers. 

Lazy Susan

Lazy Susan's are helpful in any tight space where accessibility is an issue so don't feel like you can only use this in the kitchen - take it into the bathroom, playroom or really any place in the home were it can make a difference. 

Undershelf Baskets 

Undershelf baskets are a great tool for maximizing cabinet space and can be used for almost anything from hand towels to mugs and even hair tools if you use it in the bathroom. 


If you are looking for more small space living tips and product recommendations, please check out our other posts on the topic here, here and here


Get Moving: Tips for Moving with a Pet

MovingAnnie & MichelleComment
Henry & Higby Moving with Pets

We have talked about the stress of moving in the past but we haven’t touched on the stress of moving on our four legged friends. Our often silent companions can get quite unhingedduring the moving process and since they are relatively silent partners in the process, it is important to not forget consideration when you are plotting out the move schedule. 

If you have a pet and plan on moving soon, here are a few tips for helping to make the transition as smooth as possible. Happy Organizing!

Open First Box: To ensure a successful first night for your pets, make sure that you pack an “open first” box with all of their essentials as a last step on move day. From food and snacks to toys and beds, make sure that you have all of their favorites set aside so they can easily be set up in the new place to welcome them home. 

Away from the Fray: Since the process of moving can be very stressful on your pets, take care to keep them away from the action during the actual move day. Ideally they would stay at a kennel or even with friends and family for the day but the idea is to keep them out of the chaos. 

Safe Zone: If having them out of the house isn’t an option, make sure to find a quiet area for them to rest in whether that is an empty room in indoors or a safe outside area where they can stay for the duration. If this spot is in the new home, try to set up that room first with items from their open first box so that they have some of their favorite things around them. 

Stick with the Schedule: Regardless of where your pets are during the move, try to stick with their schedule as much as possible. This will give them a sense of continuity throughout the moving process.

Medical Records: If you are moving out of the area, you should take steps before the move to find a vet near your new home. One way to find a new place is to ask your current vet if they have a recommendation and while you are at it you can also request your pet’s records and any prescription medications so that you have copies for your new doctor. 

Change of Address: Before you even move, get a new set of tags for their collar with your new address and set a reminder in your calendar after move-in day to update your pet’s microchip information.

Same Old Smells: Once your pet arrives to their new home, make sure and have an unwashed article of clothing that has your scent on it and place it on their bed or in their crate in your new home. They will feel comforted to know you are with them as well in the new space. 

How did you make the move easier for your pets? 

If you are looking for additional advice on how to make moving less stressful, please check out our other posts on moving - here and here


Our Favorite Storage Hacks

OrganizationAnnie & MichelleComment

As organizers, we help people maximize their spaces to make them more functional. Most of the time the solutions are relatively simple but every once in a while we need to get a little creative to find a way to really maximize a small or odd shaped space. Sometimes this means finding that one unique organizing product that is a perfect fit and other times it is finding a favorite product from one area of the home and repurposing it for another. Below are some of our favorite recent storage hacks that repurpose products all across the home. Happy Organizing!

Variera Plastic Bag Dispenser

Need to store wrapping paper so that won't take up valuable floor space? Try using this plastic bag dispenser from Ikea to hold wrapping paper rolls in a closet. Just affix it to the wall and you are ready to start wrapping. 

Screen Shot 2017-06-01 at 3.08.12 PM.png

Clear Linus Divided Lazy Susan

Consider using this divided Lazy Susan intended for the kitchen in any room of the house such as the bathroom, craft room or even the basement. This workhorse piece can easily store - and make accessible - anything from toiletries and hair products to paints and markers. 

Henry & Higby_Organizing Hacks_Container Store

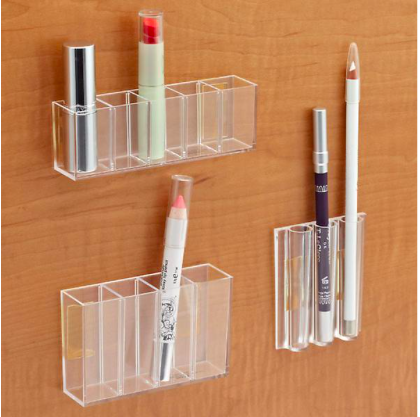
InterDesign Affixx Adhesive Organizer Bins

Repurpose these larger adhesive organizing bins for the kitchen in your bathroom or other small space to keep counters clear and space maximized. 

Henry & Higby Storage Hacks Container Store

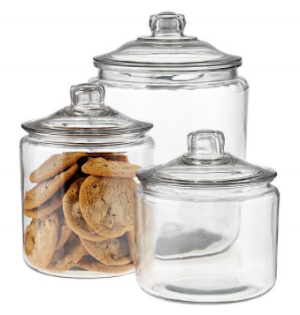
Anchor Hocking Glass Canisters with Glass Lids

Beautify your laundry room by removing laundry pods or even laundry powder from the packaging and putting it in one of these glass jars instead. Or if you are a user of liquid detergent and so inclined, you could even consider decanting the liquid into a glass drink dispenser

Screen Shot 2017-06-01 at 3.11.54 PM.png

Chrome Axis Over-the-Cabinet Grocery Bag Holder

No place to store your tin foil and plastic wraps? Use this over-the-cabinet grocery bag holder to fit three of your wraps instead and save drawer space for other items. 

What storage hacks have you used around the home? 


For more storage hacks, check out our beauty storage hack store here

A Beauty Storage Hack

New York City, OrganizationAnnie & MichelleComment

Living in New York City often means that you have to get creative with your storage and space. This week we were organizing a bathroom that had shallow built-in shelves -- less than three inches wide -- and we needed to find a storage solution for beauty products. Our client didn't have a huge collection but she had enough that we had to put a little thought into it. 

After much deliberation and a trip through the Container Store, we were able to create a beauty storage hack that we loved so much we wanted to share it with you.  This idea or something like it can easily be recreated for other small spaces in almost any room so read on if you are in need of a small space storage fix. 

 
Henry & Higby Beauty Storage Hack
 

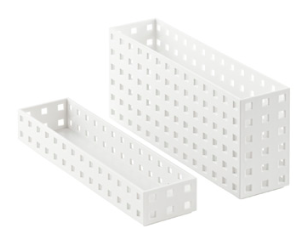
White Like-It Bricks Narrow

We love using these narrow storage bricks. They are the perfect solution for small, narrow spaces since they are under three inches wide. 

 
Henry & Higby Beauty Storage Hack
 

StickOnPods, Pack of 3

These pods are perfect for when you need to eke out extra storage in a cabinet as they can adhere to almost any smooth surface without damage. 

Using these two products, we able to create a self-contained make-up storage solution that fits in even the narrowest of spaces. To recreate it yourself, use the Like-It bricks as the foundation and stick the StickOnPods to the bricks for extra storage. 

Henry & Higby Beauty Storage Hack

How do you store your beauty products with limited space? 

A Few of Our Favorite Organizing Products for Small Space Living

Organization, New York CityAnnie & MichelleComment
 
Henry & Higby Favorite Organizing Products
 

As organizers in New York City, we are used to the small and sometimes oddly shaped spaces that New Yorkers call home (ourselves included!). From irregular sized cabinets to no cabinets, we have seen and organized it all but part of our success is due to the items we use that help maximize the space.  While this may not be one of our more traditional organizing posts, this is a shout out to a few of the products that make our job a little easier. 

Henry & Higby Like-it Bricks

White Like-It Bricks Narrow Bins

We love using these stackable bins in tight spaces like on top of a bathroom medicine cabinet. They can store and hide an array of toiletry items and, since they are only 2 and 5/8 inches wide, they can fit almost anywhere. 

 
Henry & Higby Clear & White Drawer Organizer Trays
 

Clear & White Drawer Organizer Trays

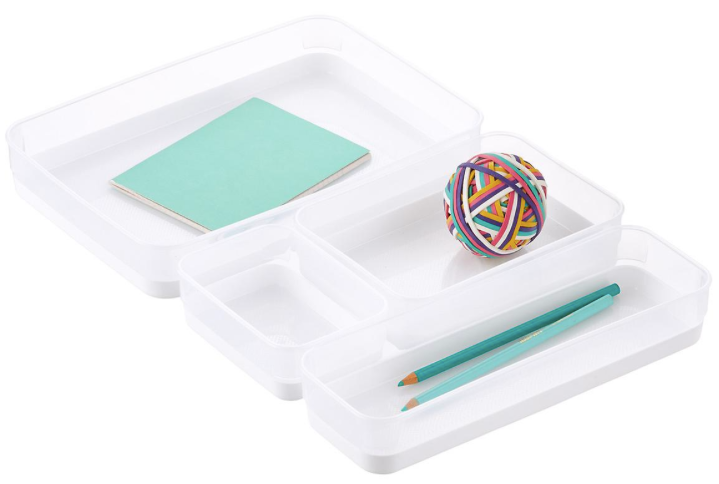
Recently, we have come across shallow desk drawers that don't accommodate standard organizing trays. Initially it was a little frustrating but then we found these relatively inexpensive drawer organizers that clock in at only 1 and 3/4 inches so now tidying almost any drawer is a breeze.

 
Henry & Higby Command Broom Gripper
 

Command Brand Broom Gripper

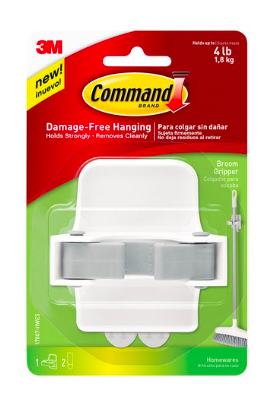
These removable broom grippers are a lifesaver in small spaces that don't have a household closet. We use them in hidden corners and along side refrigerators to make storing brooms, mops and/or Swiffers easier and, in the long run, damage-free since there is no drilling required. 


What products do you use to make living in small spaces easier? 

Organizing Your Storage Unit

OrganizationAnnie & MichelleComment
 
Henry & Higby_organizing your storage unit
 

We get it. Sometimes you need to get a storage unit. However, whether it is for items that don't fit in your apartment or items that you frankly don't want to fit in your apartment, there is no excuse for the unit to be unorganized.  With a little planning and forethought, you can maximize your storage space so you aren't wasting money and it doesn't become a black hole. 

Staging Items: When you are ready to start packing items for the unit, gather everything in one space and start grouping like items together. For instance, put all seasonal decor items or off-season clothing in its own pile so you can see how much you will need to pack for each grouping. 

Making an Inventory: Once you have everything laid out, start making an inventory list of all items being packed away in the unit so you can reference it before making a trip to retrieve something. Or if you are more of a visual person, take photos of each item or group of items being put away and save them in one document for easy reference. 

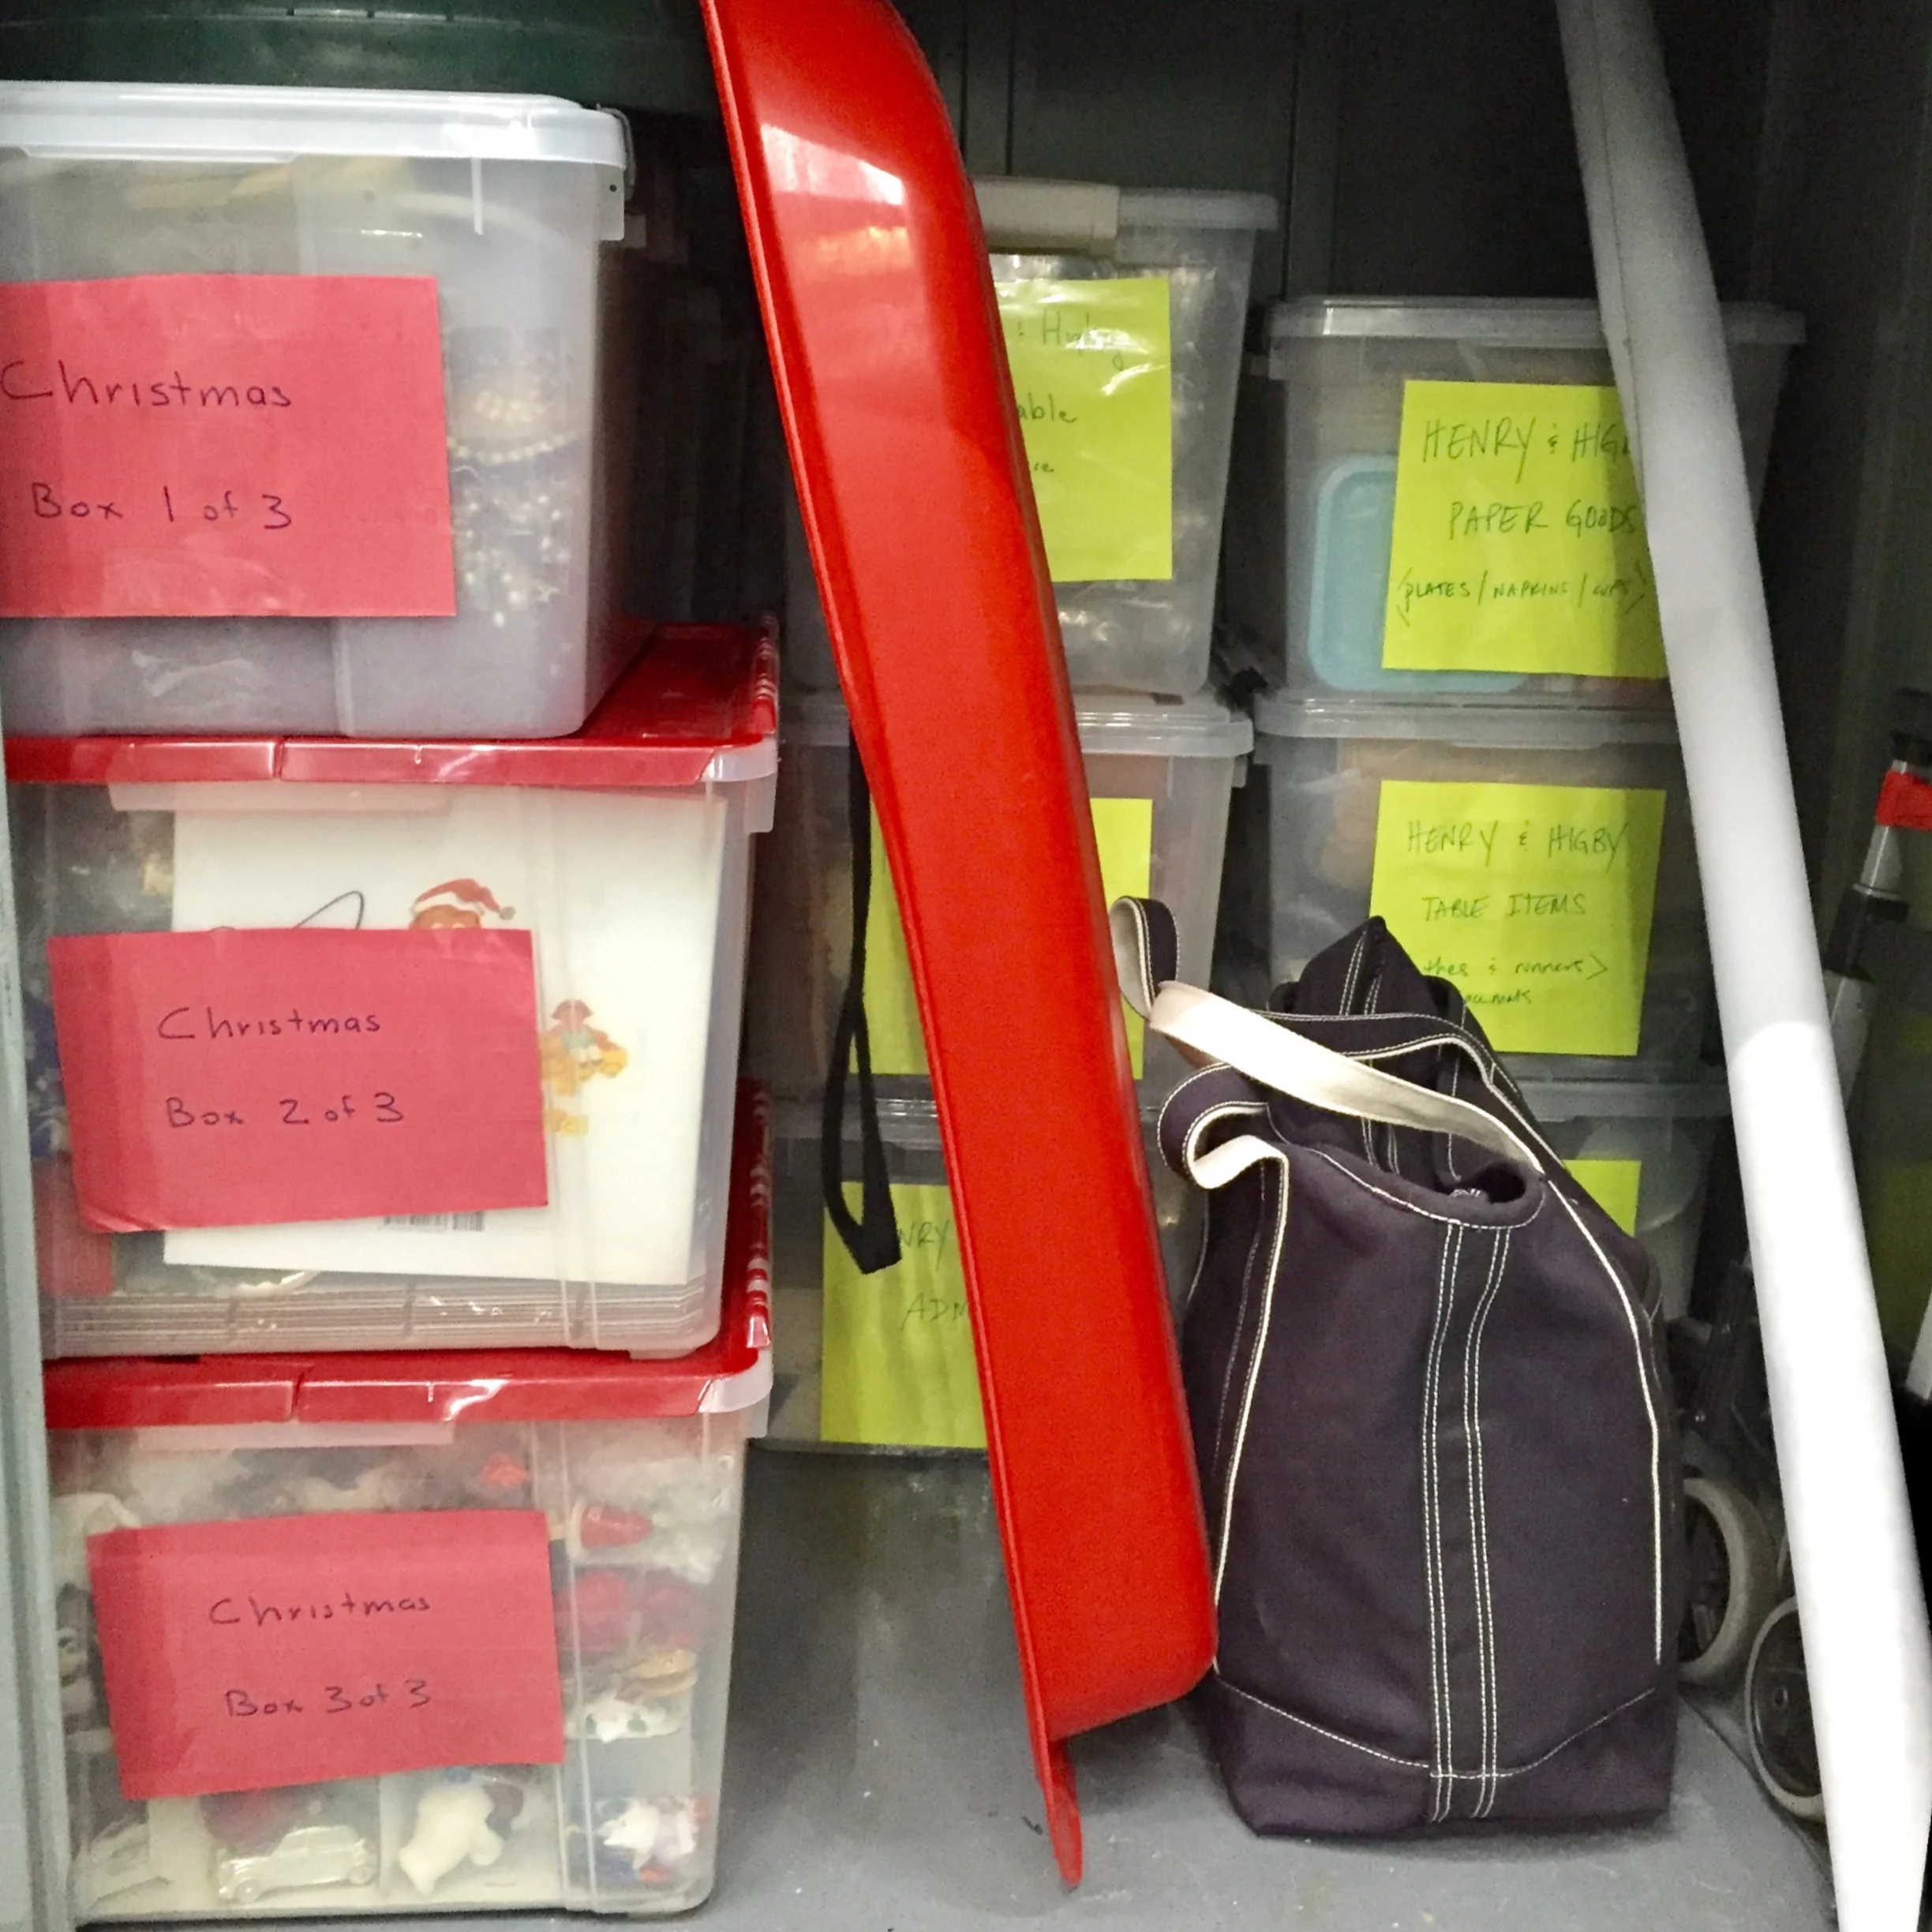
Selecting Storage Bins: After the inventory is complete, start packing each group of items - i.e. seasonal decor or off-season clothing - into storage bins or whatever container makes the most sense. If you are going with plastic, make it easy on yourself by using clear plastic bins so you can see the contents on each box even when they are put away. Another pro tip for really maximizing space is to only use two size boxes in the space or one, if you can make it work, as this makes stacking them easier. 

A few notes for storage, if you are using the unit for clothing (seasonal or otherwise), make sure that all of your clothing is clean before you pack it. The same goes for linens or anything fabric. And, breakables such as vases, mirrors or frames should be wrapped in bubble wrap so that they don't get scratched or broken. 

Labeling the Bins: The next step is to label each box clearly - Box #1 of ___ : Seasonal Decor - and add that label ID to the inventory sheet. This will make retrieving the boxes easier when the time comes. You will also know how many boxes you need to look for in case there are multiple. As for the labels themselves, you will need two of them for each box or container. One will go on the short side and the other on the long side. Also, be sure to make boxes "Fragile" if they contain breakables so that anyone handling them will be aware. 

Planning the Space: At this point in the process, you will know how much stuff you have to store and it is a good time to start selecting an actual storage unit size based on that information. Break out those calculators and figure out your cubic feet. A little space planning now to find the best sized unit will save you money as you aren't wasting it on a unit that is too big for your things. 

Do you have any other organizing tips for storage units to share? 


Tips for Getting Organized (Part Two)

OrganizationAnnie & MichelleComment
 
Henry & Higby_Tips for Getting Organized
 

We have posted general tips for getting organized before and we will probably post about it again because who can't use a little help every once in a while? So...without further ado, here are some additional tips and tricks on simple ways to get yourself organized around the home. 

Command Center: Create a command center to house all of the paper and mail that comes into the home. At this stations, set up files for each member of the family so that you can house all of their important documents. (Click here for more information on paperwork management.)

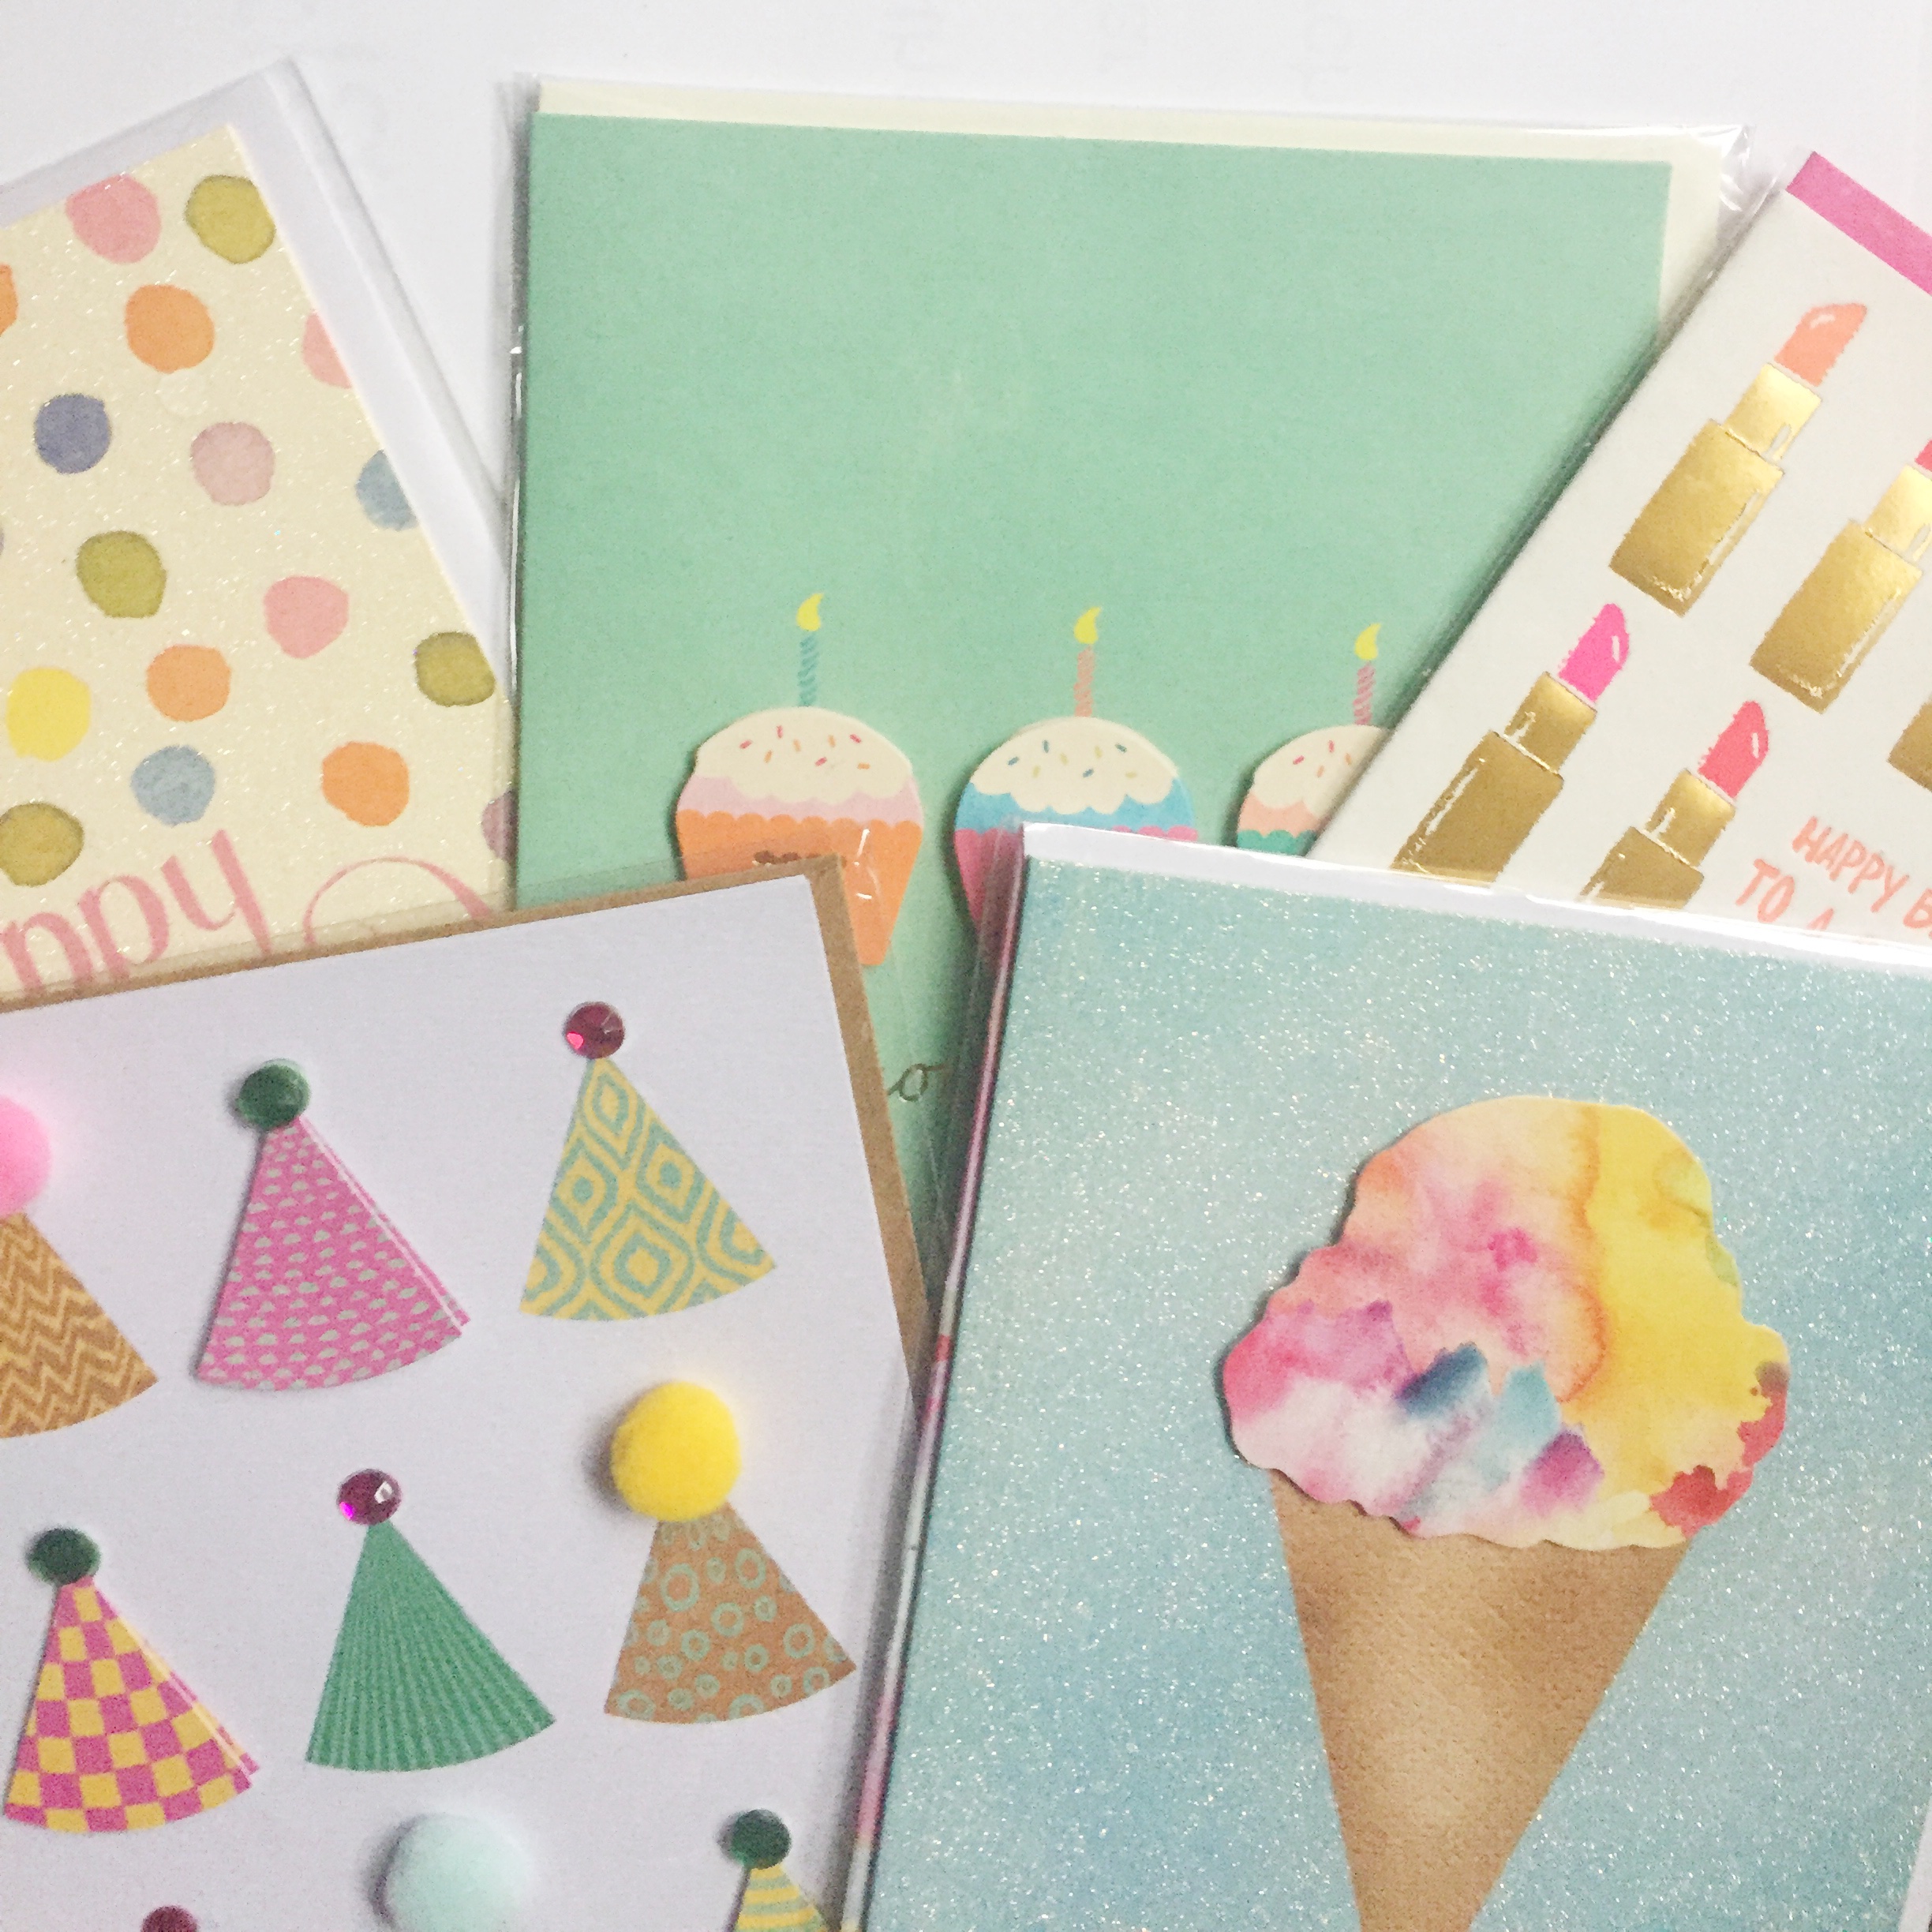
Greetings & Salutations: Create a file with cards for all occasions so you are never caught empty handed again. I am a self-professed paper junkie so you may not need as many cards as I have at home but I do recommend buying cards when you see them and not just shopping when there is an immediate need. That way you aren’t in a bind next time an occasion comes up. 

Wrap it Up: Stop stressing about the never-ending cycle of gift purchasing and wrapping for birthdays by buying one fun gender neutral paper and then two colorful grosgrain ribbon options to jazz it up. Then use this paper throughout the year for birthdays and any other occasions that come up to eliminate some stress. We love using wrapping paper with stripes or geometric prints like this one or this one but any pattern will do! 

Go Bags: Always be prepared by having a couple of small toiletry bags packed with your essentials to pop into your purse, car glove compartment or gym bag as needed.  We like to include gum, extra hair ties, hand cream, a small mirror, lipstick or chapstick in our bag and bandaids for breaking in those new shoes, but you can really fill them with anything that you need regularly. And, if you have kids, check out our article on how to create one especially for them. 

What tricks do you have for staying organized?

If you are looking for more general tips on getting organized, please check out our other post here.  
How to Maximize Space in an Apartment

Home Styling, OrganizationAnnie & MichelleComment
 
Henry & Higby_space saving trundle bed
 

As city dwellers, we know how to make the most of small spaces because we have been living in them and helping other people live in them for years. Being organized is definitely helpful when living in a smaller space but that doesn't solve all problems - that is where space planning comes in.  So, learn how to make the most of your space with these suggestions. 

Trundle Bed: Growing up in the suburbs, I loved having a trundle bed for sleepovers and guests and it is still a great way to make the most of a smaller bedroom. We use them in kids rooms so that they always have a place for friends to sleep and the best part they are easy to "install" just slide them under the bed and they are good to go. 

Murphy Bed: Space is at a premium in the city so don’t make that extra room just a bedroom. Install a murphy bed so you can actually use and enjoy the space when guest aren't around (which is likely most of the time).  

Banquette: Save some space in your eat-in kitchen or dining area by building a bench against the wall and moving your dining table next to it. This will give you extra space in the room and a little extra flexible seating on the bench. 

How do you save space in your home?


If you are looking for more general tips on making the most of a small space, please check out our other post here.  
How to Organize Toys at Home

OrganizationAnnie & MichelleComment


Outside of buying new furniture to house all of your child’s play things - toys, dolls, costumes, blocks, etc. - there are a few less expensive ways to keep chaos at bay. We have used these ideas with our clients and even in our own homes so hopefully they work for you too. 

Under-bed: Under bed storage boxes are an easy way to get toys and items out of sight while still being easy to access when your kids are playing on their own. We use them to store dress up clothes and costumes or even boardgames and other large flat items that are hard to fit in other areas of the home. 

Baskets: Sometimes the best storage option for larger, bulky toys is a large basket or milk crate. This not only makes cleaning up easier but it encourages your child to pick up after themselves. We typically use this type of storage for larger items like wooden building blocks, stuffed animals or sporting goods. 

Plastic Boxes: If you have toys with lots of small pieces like Legos, puzzles or board games, we recommend using clear plastic boxes with lids. They come in a variety of sizes, are typically pretty inexpensive and are see-through which means that your kids can see what is being housed inside. We also recommend using them with labels so that everyone can get involved with clean up. Word to the wise - only stack these boxes two or three high since it will be hard to access the bottom bin if you go much higher especially for little kids. 

Drawers: To make use of vertical space, use clear stackable drawers for craft supplies, games and even books. Drawers make all of the items accessible no matter how high you stack them and clear plastic ensure that you can see the contents. We like both of these options - one and two - depending on what types of items you need to store. 

How do you like to organize your toys at home? 


Creating a To-Go Bag for Kids

OrganizationAnnie & MichelleComment


Kids can be unpredictable so it is up to parents and caregivers to try to prepare for the unknown everyday. For these unexpected moments, we recommend creating and carrying a to-go bag. This bag typically includes a few essential items that will help you deal with whatever comes your way. Below are some of the items we like to pack in our to-go bags. 

  • Mini First-Aid Kit including Band-aids, Antibiotic ointments, etc.
  • Sunscreen wipes
  • Wipes - we love Babyganics
  • Small reusable water bottles like klean kanteen
  • Snack packs
  • Copy of an Emergency Contact Sheet (Check here for more information on what to include on this sheet.)
  • A favorite small toy to distract them like our lego pack
  • A change of clothes depending on age of your child 

As for the to-go bag itself, we love Baggu zipper pouches but have also repurposed giveaway bags from make-up counters in a pinch (thanks, Clinique!). 

What would you add to your to-go bag? 

Tips for Getting Organized

OrganizationAnnie & MichelleComment


Yesterday was one of those days where nothing went quite right. We all need a little help sometimes - right?  So, in anticipation of the "not quite right" days that are bound to be ahead, we have a few seemingly random ways you can get more organized now. 

Reap Your Rewards: Stay on top of your rewards cards game with your phone. We love Apple Wallet because it is already on our phones but also because it stores our loyalty cards, reward cards and even boarding passes, tickets and debit/credit cards making it easy to use on the go. Other good phone options include FiveStars and Key Ring. However, if you are old school and like using the actual cards, try putting all of your cards on a separate key ring. That way you don’t have to dig through your bag or wallet for missing cards because they are all in one place. 

Zip it Up: Plastic storage bags are one of our favorite secret weapons. We use the small bags to hold everything from craft supplies and batteries to nails and screws in our tool box. Bagging like items together makes it easier to pull out the right item when you need it and it keeps things neat. You can also use the larger plastic storage bags for seasonal decor or entertaining supplies. Try putting away sets of disposable cutlery, straws and napkins in larger labeled zip bags to pull out when you are entertaining or heading out for a picnic. We create these sets using leftover supplies from parties so we are always ready to spruce up a table or head out for a fun meal outside. 

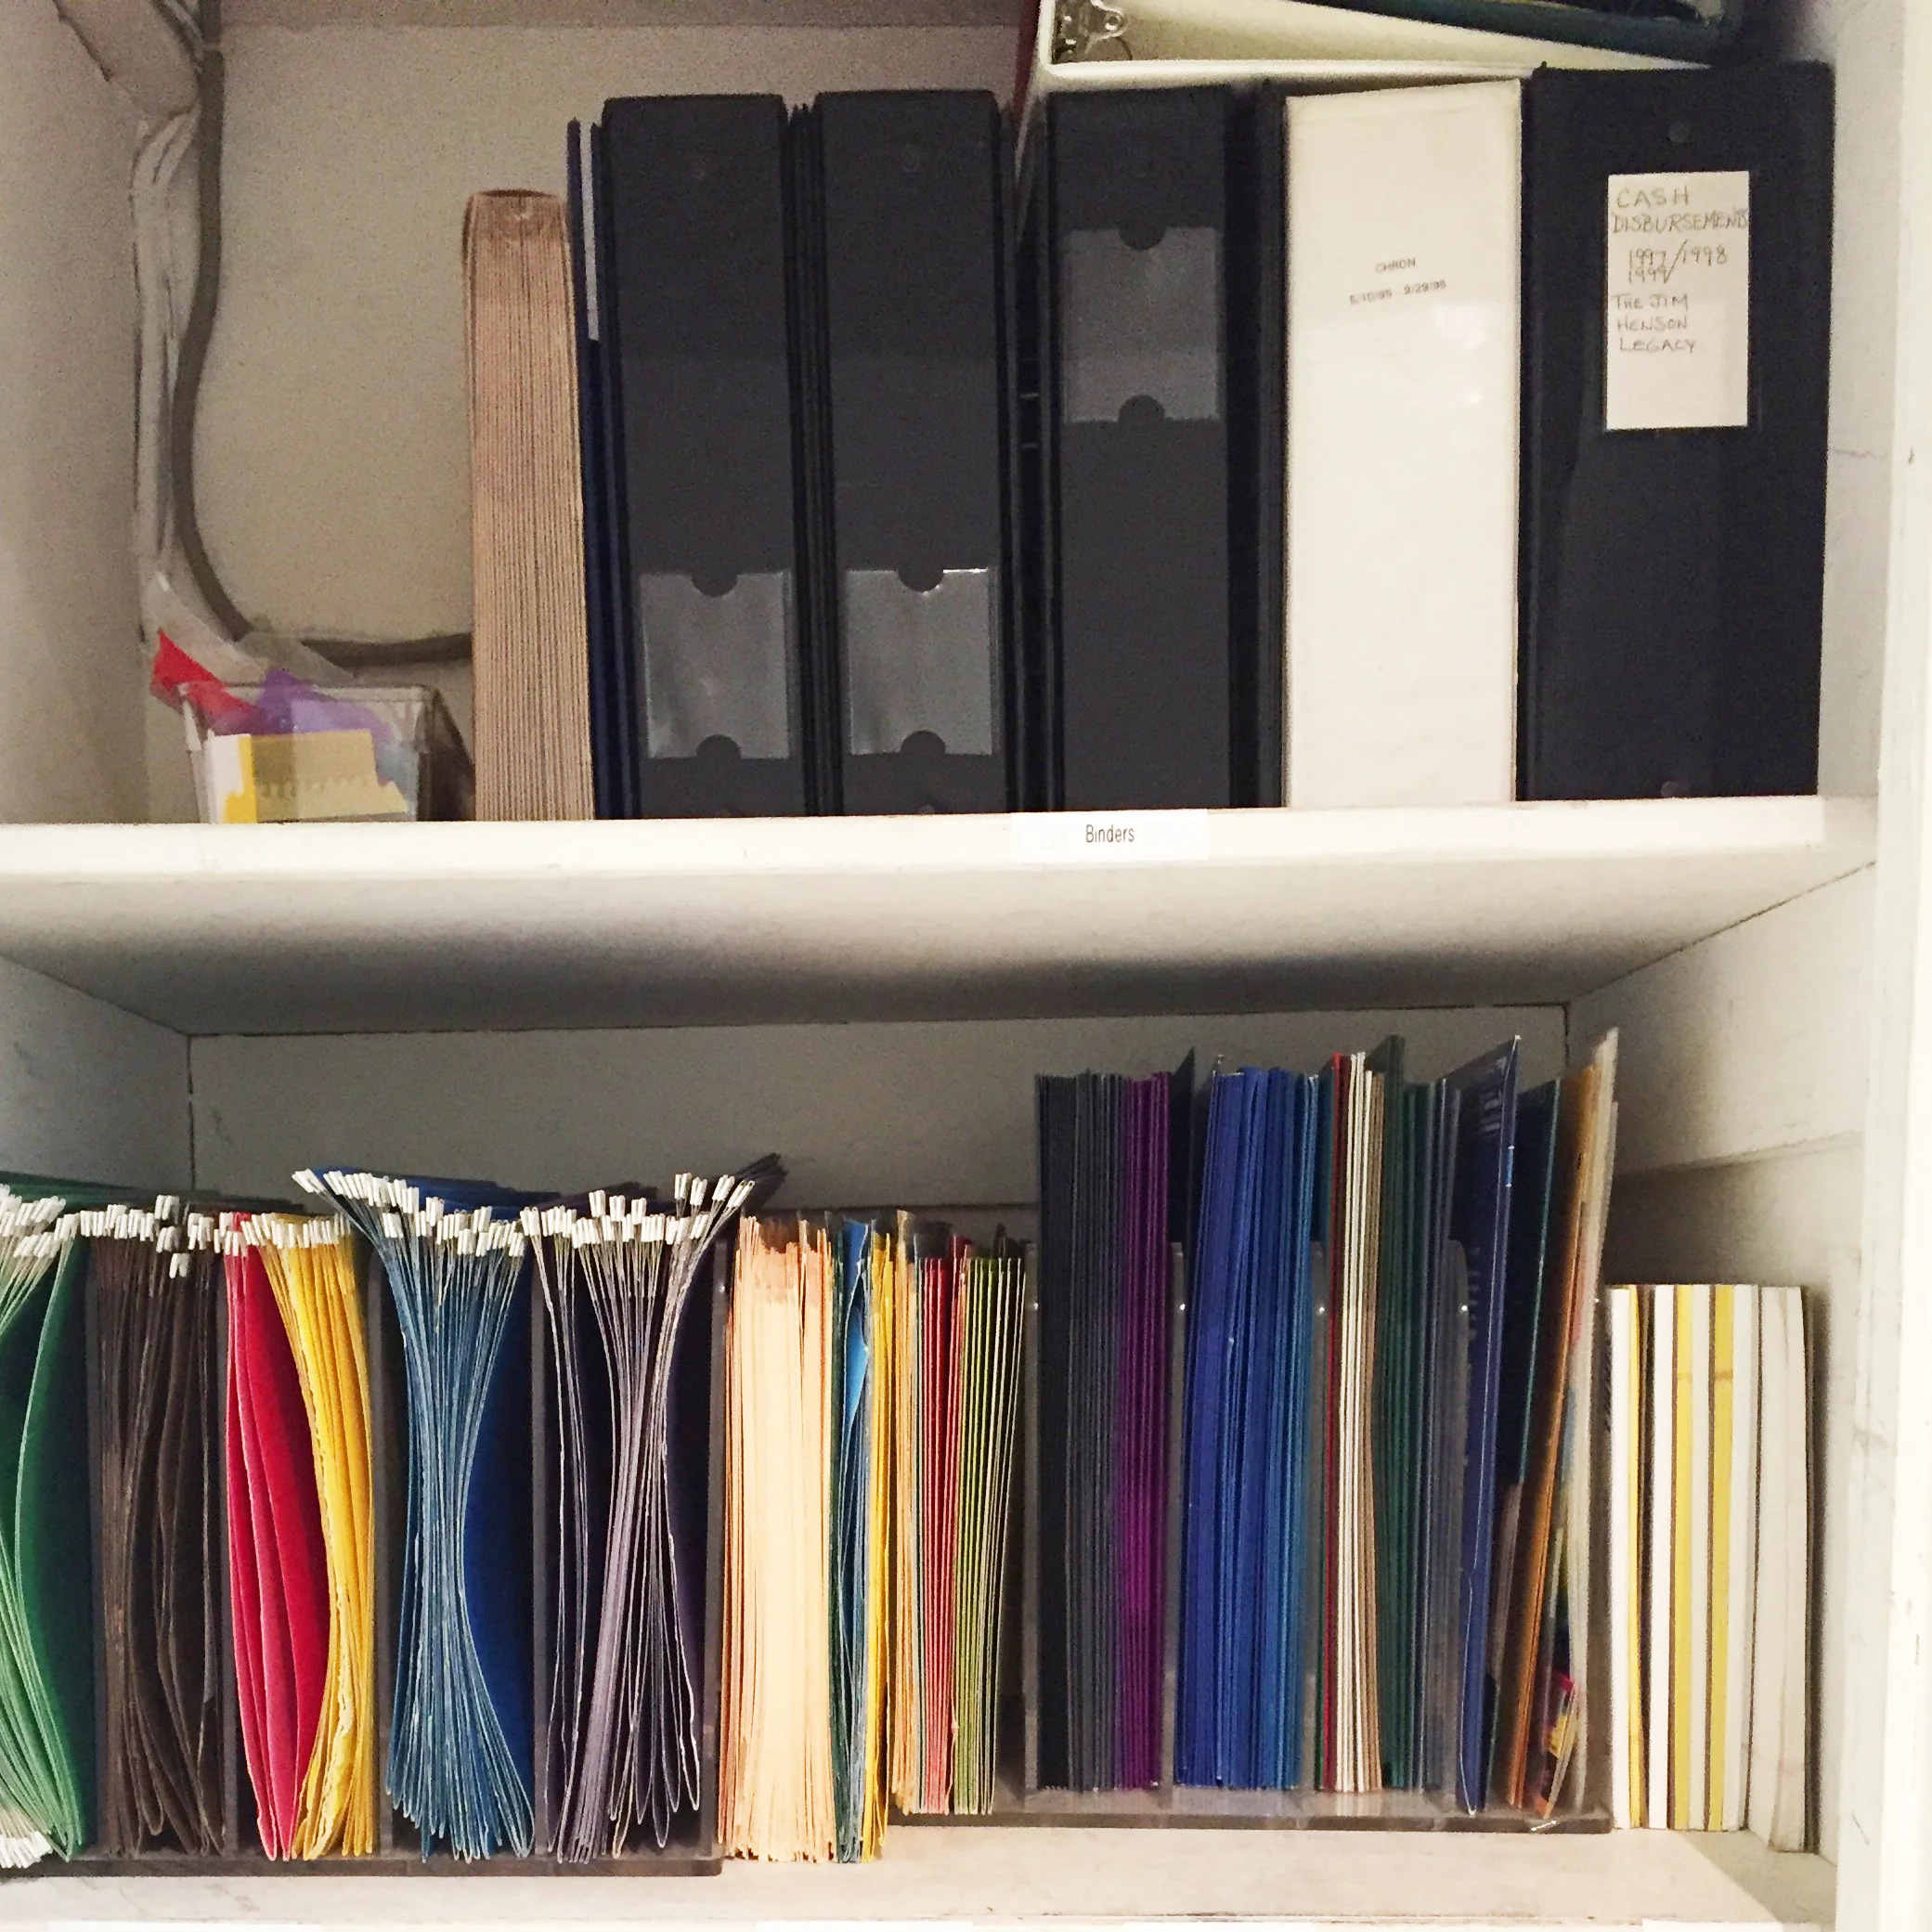
Gather Paperwork: Binders aren’t just for kids. We use them at home to store paperwork related to school and family, warranties and appliance manuals (old and new) or even printed online recipes. If you are anything like us, you also like to work from a printed copy so you can write notes on it. 

Create a Home Base: Make space in a central closet, pantry or laundry room to create a home base for all of your household items such as lightbulbs, batteries, tool kits, etc. By keeping these items together, you can keep track of your stock (and therefore know when you need to replenish it). An added bonus is that your family will know where to go when they need something.

What tricks do you have for staying organized?

How to Make Moving Easier on Your Children

Organization, MovingAnnie & MichelleComment
 
Henry & Higby_Services_Moving_and_Unpacking_IMG_7784.JPG
 

Moving is stressful. Between finding a new place, organizing and packing your belongings and coordinating all of the logistics, there are lots of details to figure out. And, although the process is stressful for you, it is also pretty stressful for your kids. 

Having assisted multiple families with moves, both professionally and personally, we have a few tricks for making the transition easier for little ones.  Hopefully these tips will prove to be helpful during your move too. 

  • All the Essentials: Create an open first box just for your children which includes all of the essential items to set them up for a successful first night. For instance, this could include their bath time towels, a sheet set, night lights, pajamas and any favorite blankets and/or bedtime stuffed animals. 
  • The Devils in the Details: Don't forget to make arrangements for your children the day of the move whether making sure that they are getting picked up after-school or planning an activity so that they aren't in your way while you get the house set up. 
  • Bag o' Tricks: If you need to have your kids at home during the move, try to make the day a little more fun by packing an "on the go" bag with some favorite toys as well as some new surprises to keep them occupied. 
  • Photo Finish: If your children are upset about the move and the packing process (which is totally understandable), take photos of the contents of each box before you tape it up and then show them the photos. This can help calm their nerves and buy you a little time before you have to unpack all of their boxes. 
  • Light up the Night: Make the first night a little easier by placing extra night-lights throughout the house and in the bathrooms so they can find their way around the new place with ease.  

How did you make the move easier for your children? 

If you are looking for additional advice on how to make moving less stressful, please check out our other posts on moving - here and here


Tips for Organizing Your Fridge

OrganizationAnnie & MichelleComment


The start of a new year often brings resolutions to stress less, work out more and to eat healthier foods. However, even if you aren’t engaging in a major life overhaul, it is definitely a good time to clean out your fridge and dispose of all evidence of holiday excess. We just undertook this endeavor ourselves and have a few tips for you to make organizing it and maintaining it a little easier. 

  • After cleaning out your fridge and washing out the bins and shelves, consider lining your produce drawers with reusable cloth liners and your refrigerator shelves with clear plastic wrap to make future cleanings easy. The cloth liners can be tossed into the washing machine between uses and the plastic wrap can ripped up and replaced once something has spilled.
  • Gather all like products together - such as produce, spreads or snacks - and put them in clear bins or baskets with labels. This makes finding and retrieving the items easier for you and the family as they can easily be pulled in and out. We even use a variation of the clear bin for the produce we use most often so that we can easily grab the tray and have everything we need in one place. 
  • If space is at a premium or you don’t love everything in bins, try a Lazy Susan to maximize shelf space and keep everything within reach. 
  • For smaller fridges, check out these magnets that will keep your metal capped bottles on the ceiling of the fridge freeing up space below for more food items.
  • Clearing out expired food would be easy if you could easily read the date. Our trick for staying on top of it at home is to write the date on the product in Sharpie so that it is easily seen. We also do this with items that have a shorter shelf life once opened such as chicken broth, tomato paste, etc.
  • Avoid spoiled dairy and meat products by storing them on the lower shelves of the fridge where it is coolest, not the door where temperatures can vary through daily use. Also, consider putting all raw meat products in a clear bin so that any drips are contained and don’t contaminate the whole shelf.     

How do you organize your refrigerator?

Organizing Your Paperwork

OrganizationAnnie & MichelleComment
 
Henry & Higby_Paper Management
 

If your house is anything like ours, there is always a pile of paperwork to be handled and sometimes you just don’t want to deal with it. Between catalogs, magazines, junk mail, bills, work and school papers, it can seem endless. However, there are some things you can do to get ahead of it. Read on to help stem the tide and get a handle on the paper piles. 

Create a Command Center: The first step to handling paperwork is creating a command center to house all of the paper and mail that comes into the home. This is a good place to set up files for each member of the family so that you can separate their important documents. 

Keep it Moving: Part of taming paperwork is keeping it moving. This means that once you open it that you help move it along by taking action. Pay the bill, sign the paper or get the right person involved if need be. For instance, you may get an inquiry from an insurance company that requires action by your doctor and, if that is the case, get your doctor involved at that moment so that it no longer sits on your to-do list. 

Set Aside Time: Paperwork needs to handled on a weekly, if not daily, basis but that can seem hard when hectic schedules and last minute activities get in the way. One way to help make handling paperwork a priority and seem a bit more manageable is to set aside time on your calendar each week to do it. Even just thirty minutes a week should help tame the piles. 

Stop the Flow: Get a grip on the amount of paperwork that comes into your home by removing yourself from direct mailing lists (DMAchoice.com), from credit and insurance solicitations (OptOutPrescreen.com) and from even bills themselves by signing up to go paperless. And, in the meantime, you can also literally make the call to the magazines that come into your home unsolicited to have yourself removed from their mailing list. At the same time, you should also ask that they don’t sell your name to other companies. 

How do you control paperwork at home?

Organizing Your Life with Kids

OrganizationAnnie & MichelleComment


Life can be overwhelming enough with kids and partners and work and pets and friends and...all requiring time and attention. However, there are some things you can do now to get organized for life with kids that will help make your days a little easier. 

First Aid Kit: Create your own personalized first aid/allergy kit with a latched plastic box (like this or this) and put it somewhere central so it can be used should there be a situation. Be sure to add in a few character bandages (they make you feel better faster, right?) and any other products that your family needs and uses regularly including allergy medications, etc. Here is a resource for how to make your own kit and what to include. At the same time, think about creating a portable version in a small pouch for you or other supervising adults to bring when hanging with the kids outside of the home. 

Contact Sheet: An emergency contact sheet is very important not only for the sitter and any visiting family but also for your own peace of mind. Make a list of all important emergency contacts including the following: doctors, parents, key friends/family that could help in a jam, etc. Once this is created, make copies for friends and family and post one in a central part of the home - likely the kitchen - so that it is readily available in the event of an emergency. 

To-Go Bag: Make getting out of the house with kids easier by having a to-go bag with all of their favorite toys and essentials ready to go near the door. The bag can store their water bottles and favorite outdoor toys for time at the park but it can also serve as a place for them to put those toys and items when inside so that they don’t get lost. Also consider including an on-the-go first aid kit and a copy of the emergency contact sheet mentioned above. 

Kids in the Kitchen: Set aside an easily reached section of the kitchen for your kids lunch boxes, water bottles and treat containers so that they can learn how to put them back themselves. Giving them access to these items will help teach them a little independence and give you a bit of a break. 

Labels: Help stem the tide of missing items from clothing to cups to shoes with personalized labels. Look for washable ones like these or these to make sure that they aren't destroyed in the laundry or dishwasher.

What do you do to make life easier with children?